Ah, here we go. The days feel brighter and longer, it’s warming up outside and it’s finally time to plan your garden and start your seeds! Although a joyous moment, it can also quickly turn into massive decision fatigue and feeling overwhelmed. The “I have no idea what I’m doing” is a big part of the gardening process, and, as a gardener, you have to respect it and welcome it at times.
It does get easier, though, when you have the right tools at hand and things planned out a little bit. So this post is here to help you do just that.
1st step: Check your space
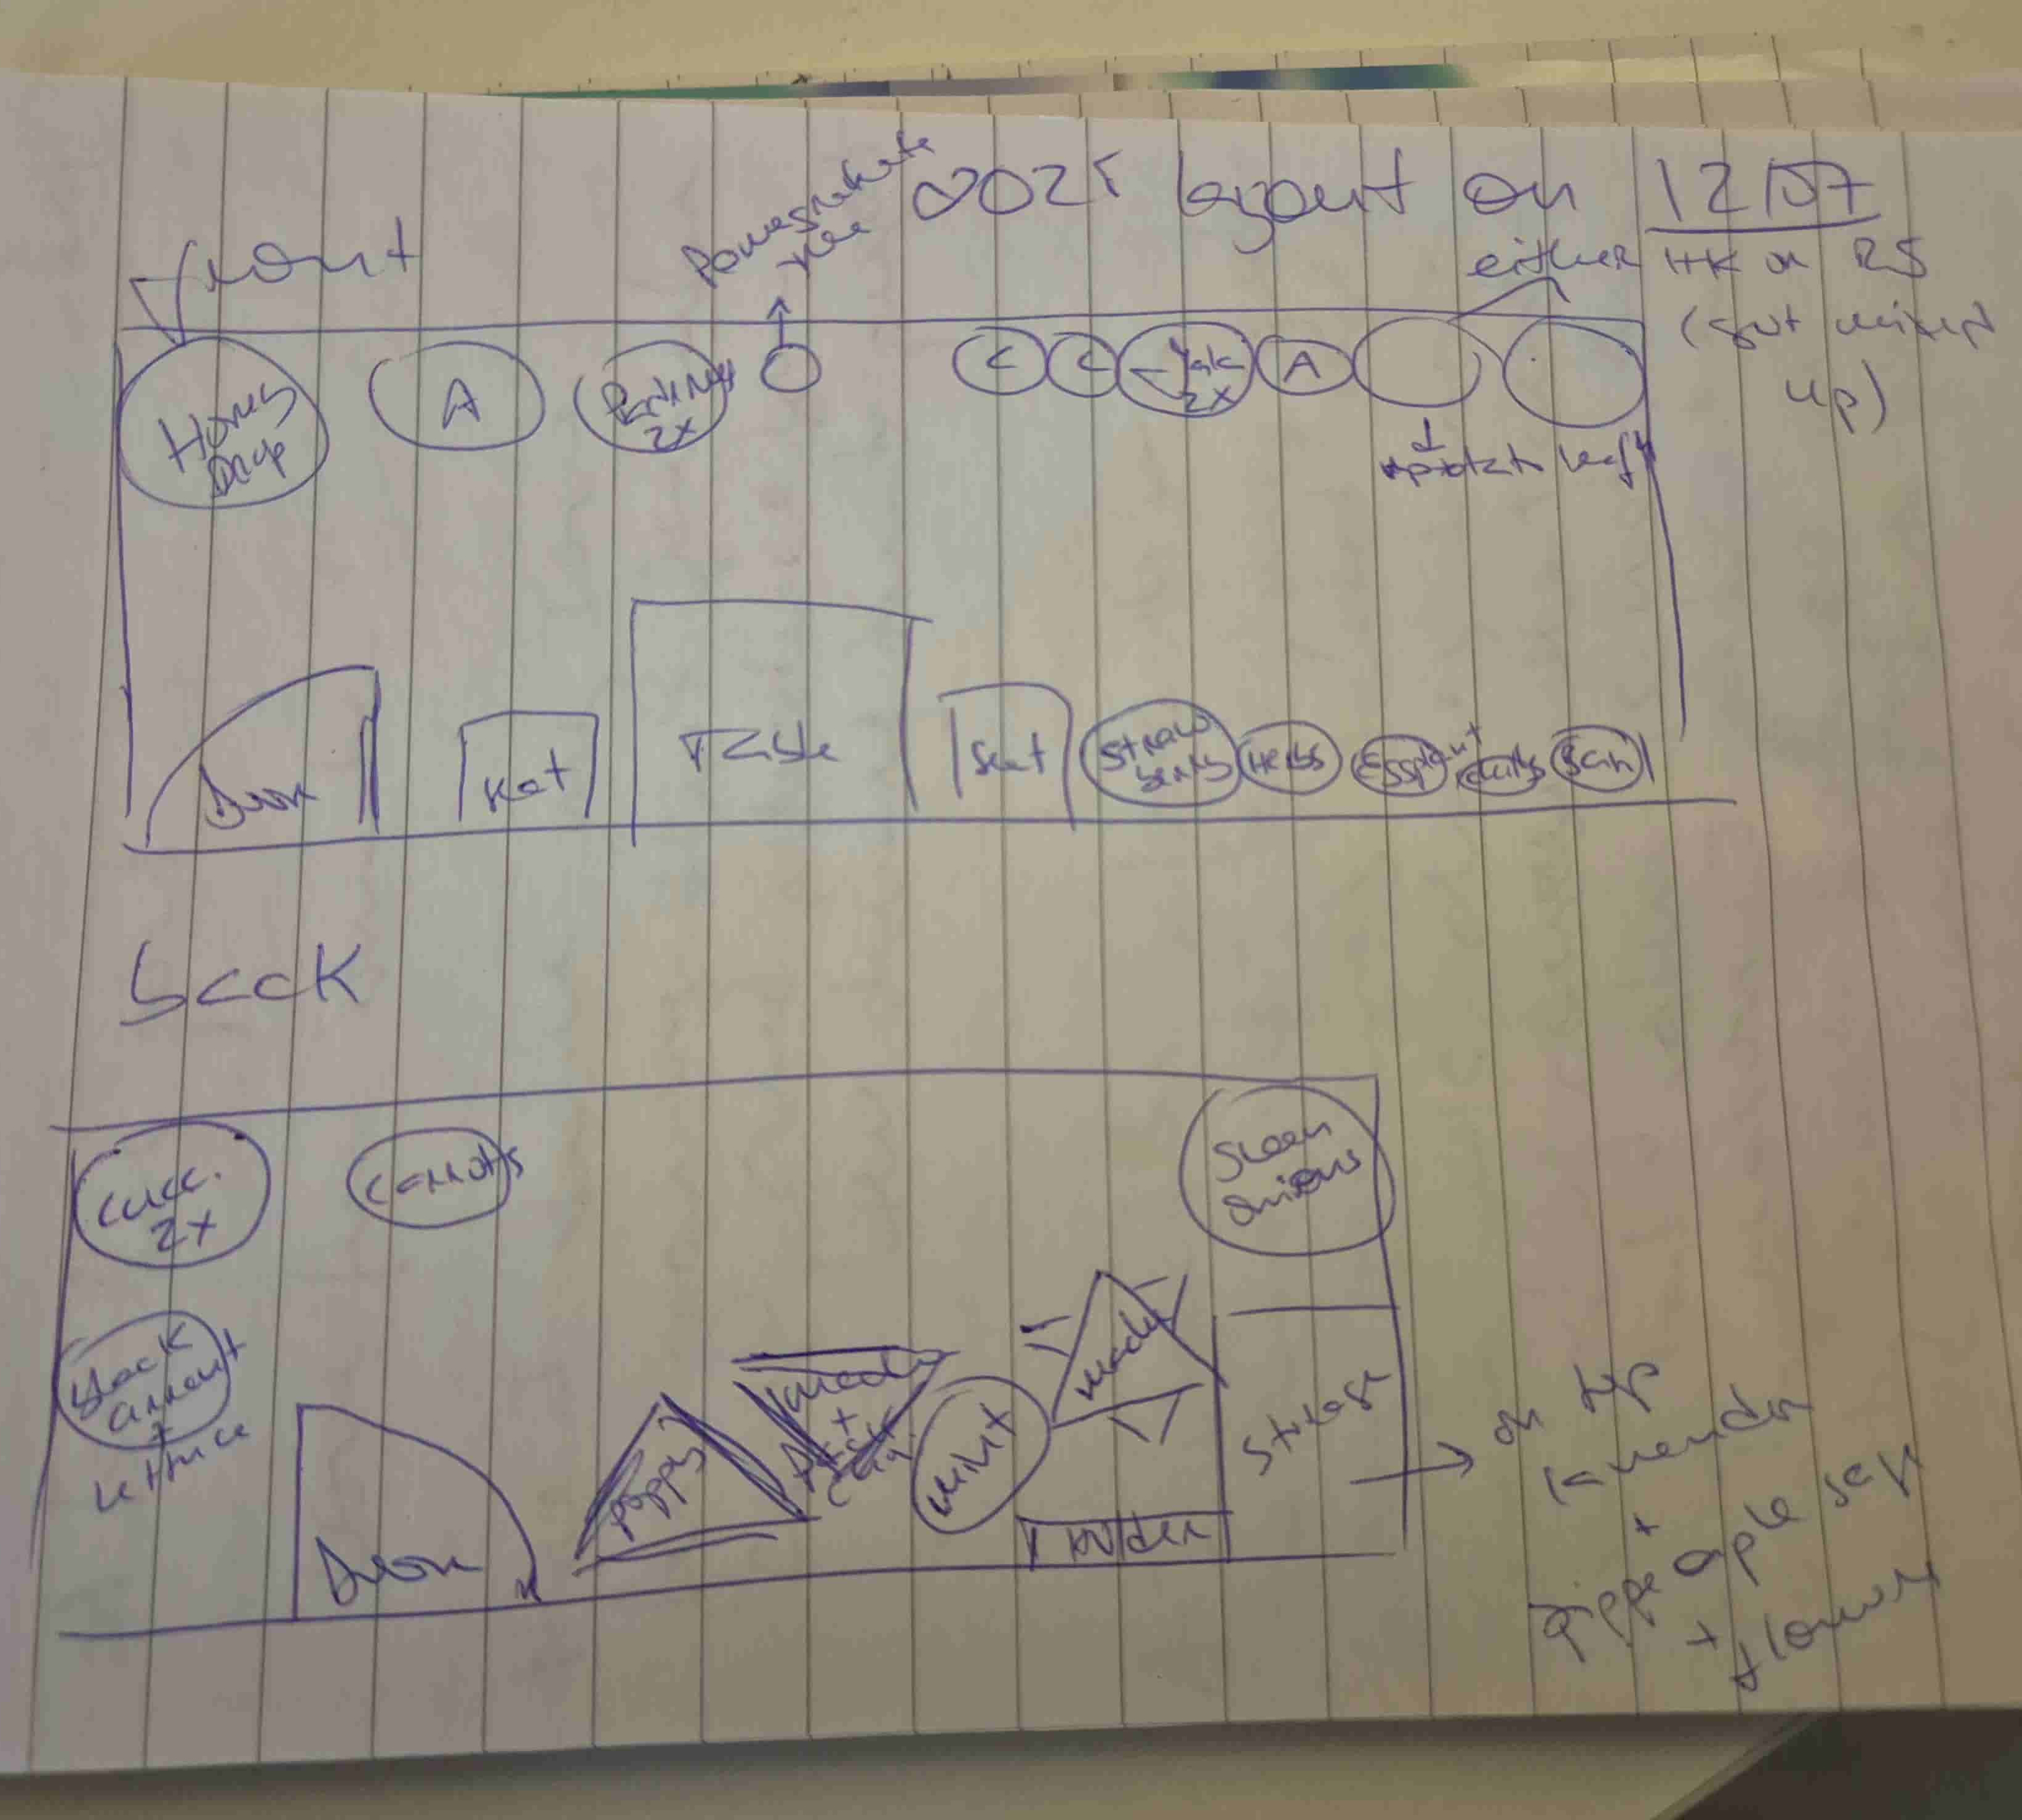
This is the most important step. First, see what direction your balcony, or windows are facing. South facing will get the most sunlight hours, north facing, no sunlight whatsoever. Anything that needs to grow will require sunlight, so plan accordingly.
Measure your space, get some pot diameters for reference and see how many would fit. Don’t forget you or your family members might also want some furniture in the same space once the summer comes, so account for that as well!
2nd step: Choose the right varieties
This is probably my least favorite step, as a super undecisive person. When I get to those aisles at the store, with all the seed packets beautifully displayed, it easily escalates from feeling excited, to pure anxiety.
So, over the years, I’ve developed some mechanisms that make the process a lot easier. For example, there are certain criteria that the plants need to fulfill, for the conditions I can grow them in. They can’t vine out too much, on a balcony this would be very hard to handle and contain. Automatically, this takes most squashes out of the race for me, also indeterminate tomato varieties, beans, peas, etc… Because I’m in a colder climate, they also need to be able to handle that and ripen quite quickly, usually, 80 days to harvest is my top limit.
All this information should come on the seed packets. If it doesn’t, it’s probably best not to risk it. Or, if you have that extra pot with no plans for, by all means, try it and you will most certainly find out!
For most of my seeds I prefer to order online, most websites will let you filter through all those criteria and give you a smaller selection to choose from.
When choosing what to grow, you can consider the vegetables you tend to buy the most and that will grow well in your conditions, and give it a go.
Alternatively, you can try growing special varieties that you can’t buy at the store. This for me, is the most worth it approach. Chances are, nowadays, there will be a variety out there that has been crossed for the climate and spacial characteristics you need, so have faith and look them up!
A third option is to do a bit of both. For example, I can find padron peppers at the store where I live, but the flavor of freshly picked peppers, that you’ve been eyeing for days like a stalker, tossed in a hot pan with some olive oil and a sprinkle of salt just does not compare to the imported ones from the store. And with the second approach, you will most definitely find out new favorites, like the Dwarf Tomato Project for me.
3rd step: Seed starting, the protocol
This is the simplest part of the whole process. Check your seed packets or online, for when you need to start planting. A good general rule, is 10-6 weeks before the average last frost date on your zone. For me, that is May 10th.
Get some soil. Preferably a looser one without too many big chunks in it. Some brands add wool or tree bark to their soil mixes to help with moisture and drainage. But when you are a tiny seedling with limited amount of energy to reach the surface, any obstacle can stop you in your quest.
A special mix for seed starting is usually just sifted through, to avoid that. The downside is that they are typically quite poor, as fertilizers are normally added as pellets to the soil mix, and get sifted out. So, once your seeds sprout you’ll have to be extra attentive with fertilizing them.
Now find a comfortable space, big enough for all your small pots (with holes in the bottom, please) and trays and soil bag. Easy enough to clean afterwards, but where you won’t mind still finding bits of soil still after a couple of weeks, and set your station.
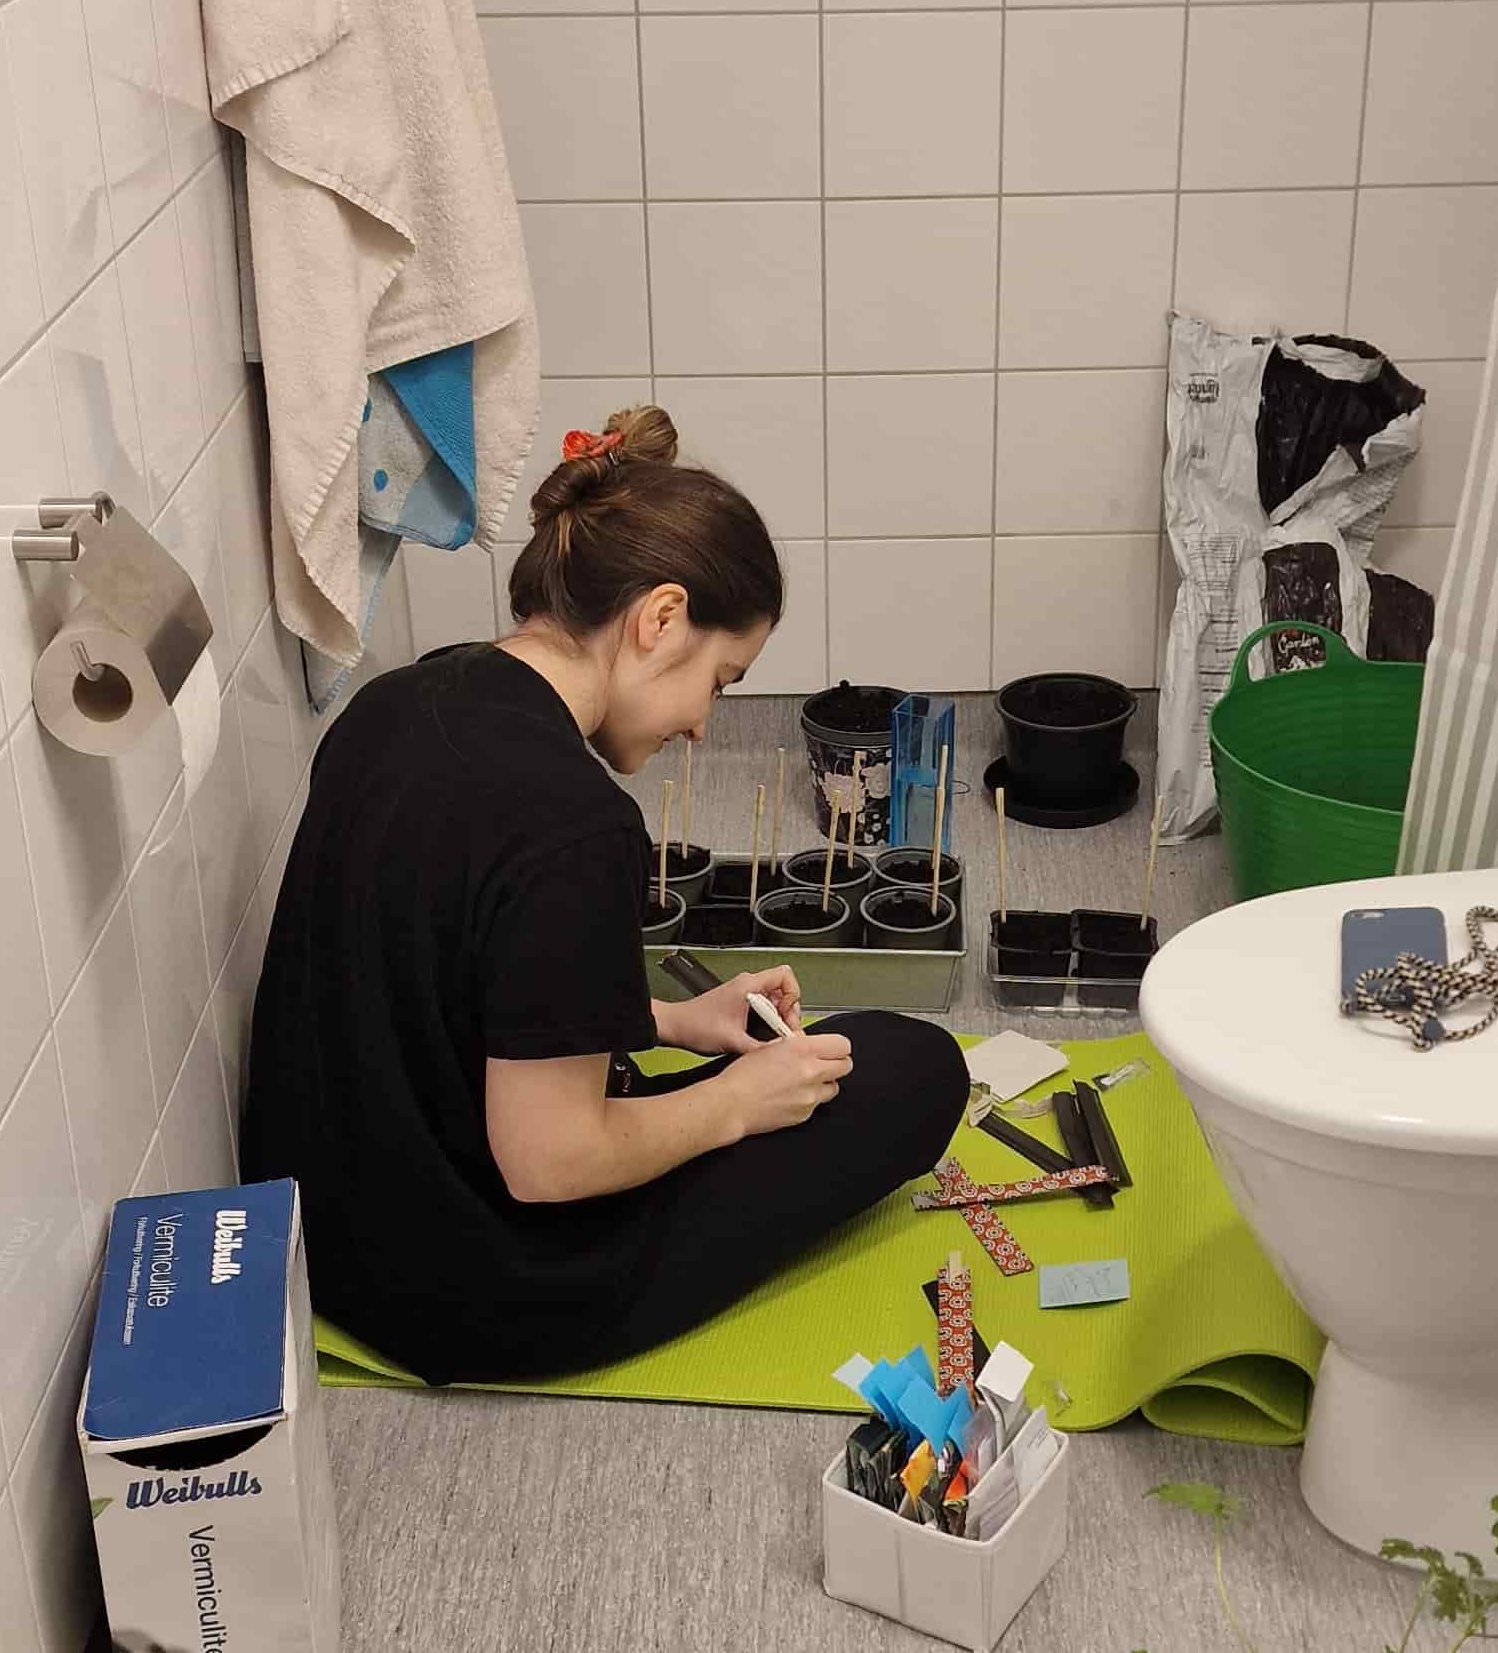
Label everything before you start! I recommend tape you can write on, but I’ve also used chopsticks from take away. You can write on the top part and the advantage is that, when you transfer your seedling outside, you can just stick that in the new pot, and keep things in order. Trust me, you will not remember which is which and will want to know, at the end of the season, what did well or not.
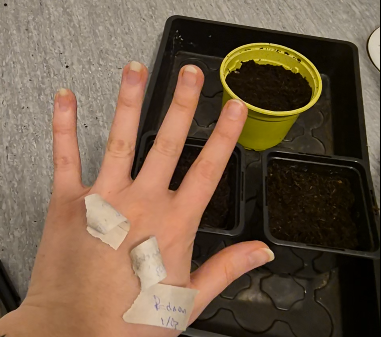
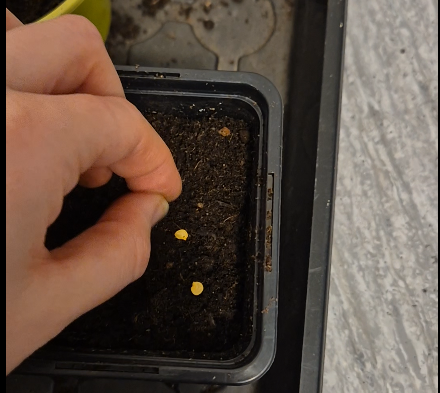
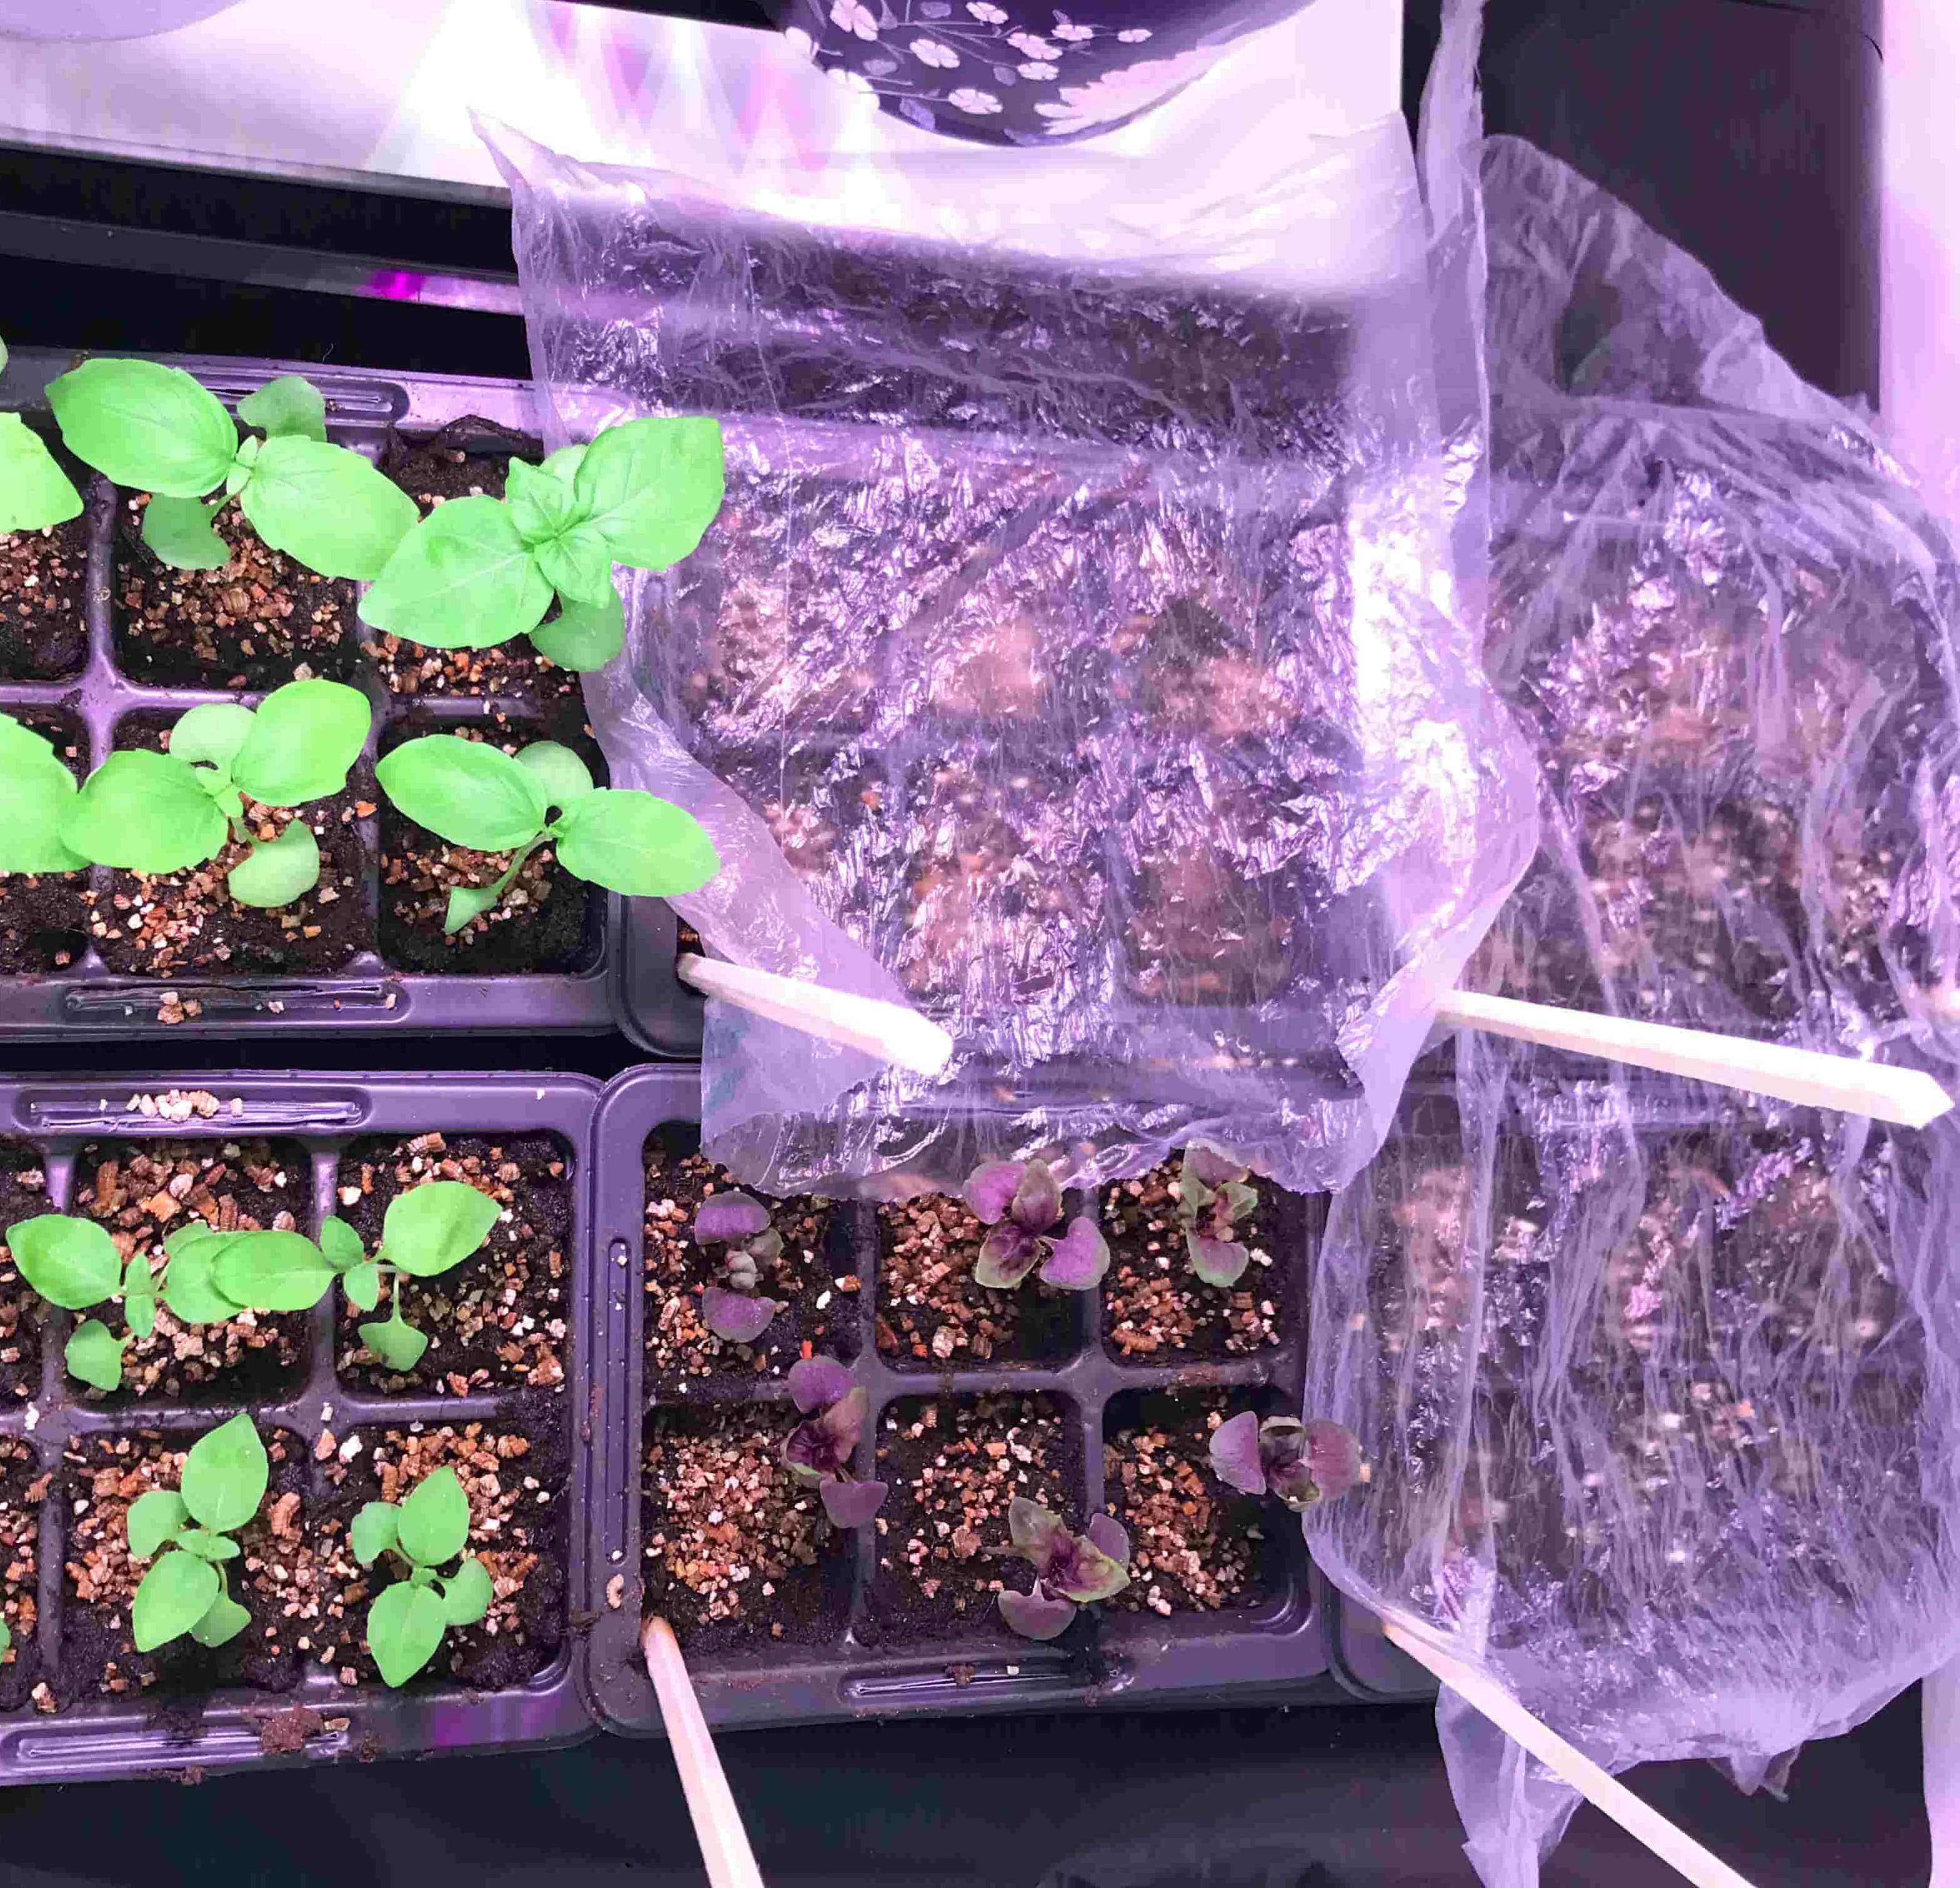
Next, add the soil in the pots leaving around 1.5-2cm from the top, tap them down a bit to settle the soil, and add 2-4 seeds and cover with the thinnest layer of soil, pressing gently with your hands so the seeds are nicely tucked in. Water well until you can see it dripping down from the bottom of the pot. Cover the pots with some plastic to keep the moisture and you’re good to go.
If you’re feeling fancy, you can add some vermiculite to the top of the soil, this will help keep the moisture to an optimal level and prevent moss from growing.
My best tip in nordic countries, and one I’m quite proud of thinking of, is to set your trays on top of your heaters. This is my convenient version of a heated mat. It will warm up the soil in the pots and make it nice and cosy enough to fool the seeds into thinking spring has come and it’s time to grow. Just be careful with vegetables that need cooler temperatures to sprout, and keep an eye out for soil moisture, as the heater will dry it out faster.
Now just kick back and relax, after cleaning up your mess of course, and welcome the stressful and relentless checking for sprouts every morning. Just as I’m writing this post I’m on this phase with my pepper starts.
It does happen, however, that sometimes, seeds will not sprout, no matter how many times you try to start them. This is often due to the seeds being too old, or having been stored improperly, or an old childhood curse, who knows. In those cases, shake it off, focus on the plants that did sprout and grow, and maybe look in a plant nursery for a replacement. All will be well, I promise!
 Subscribe to my RSS Feed!