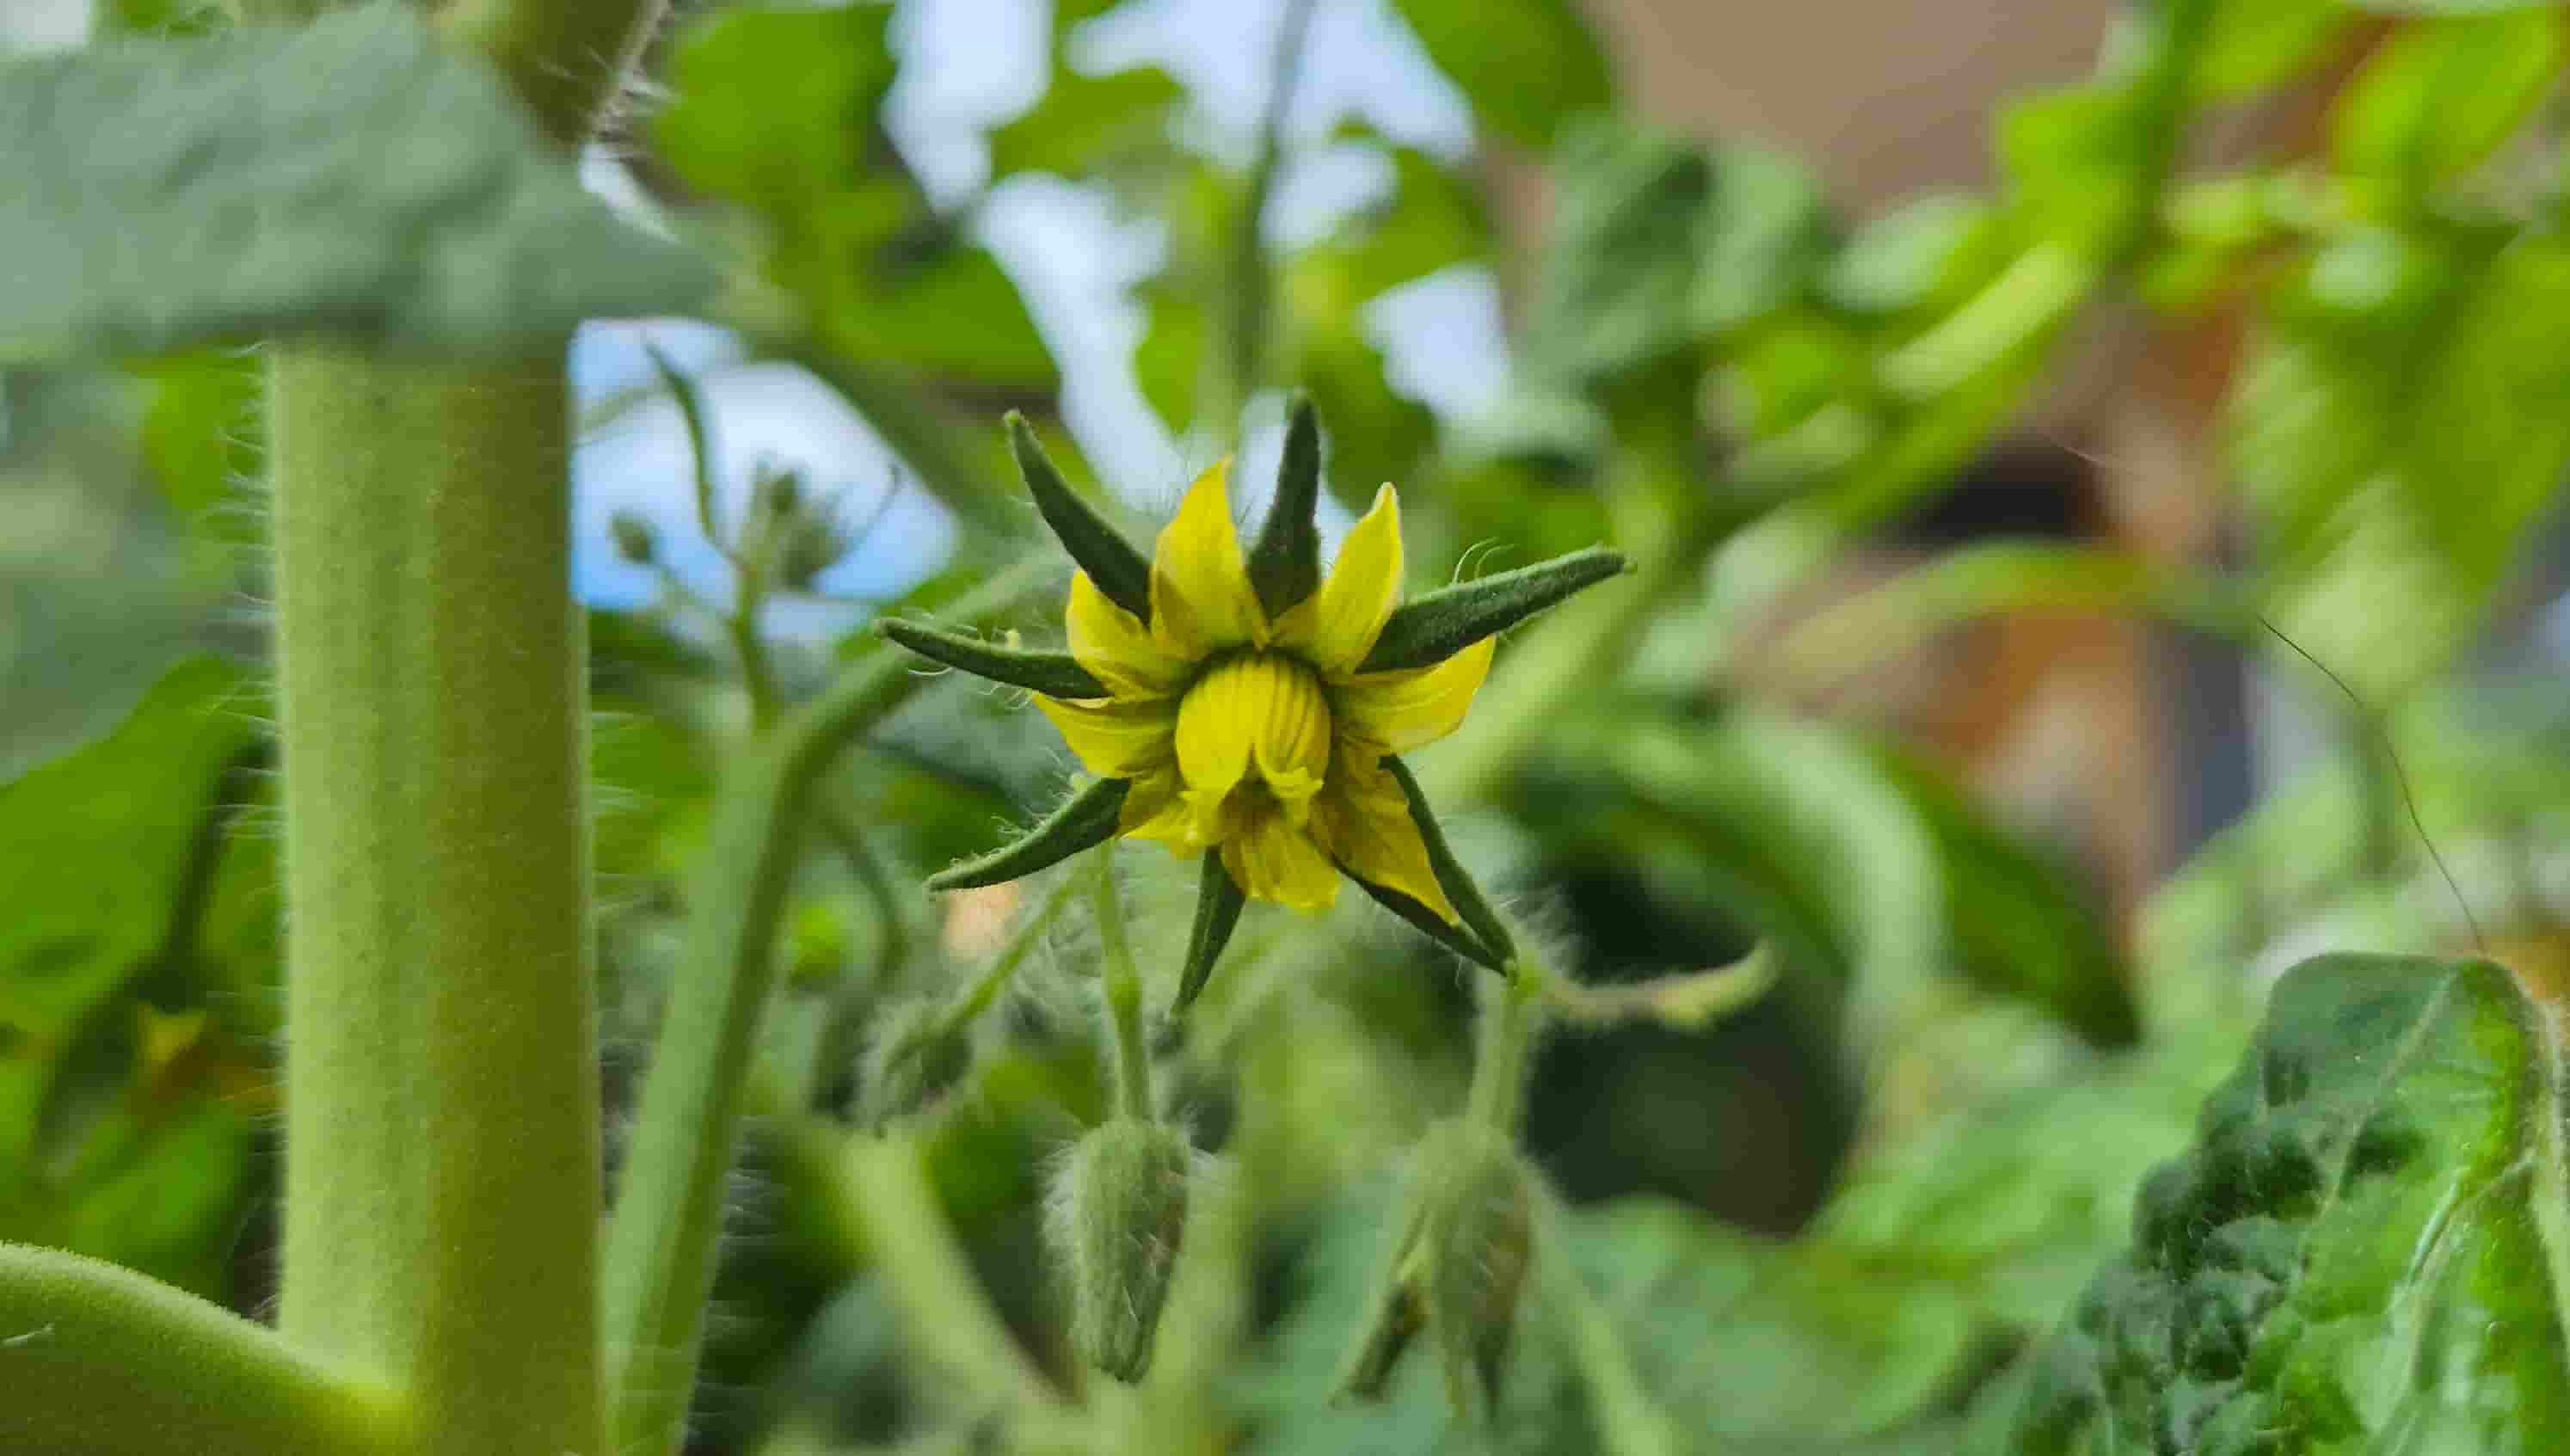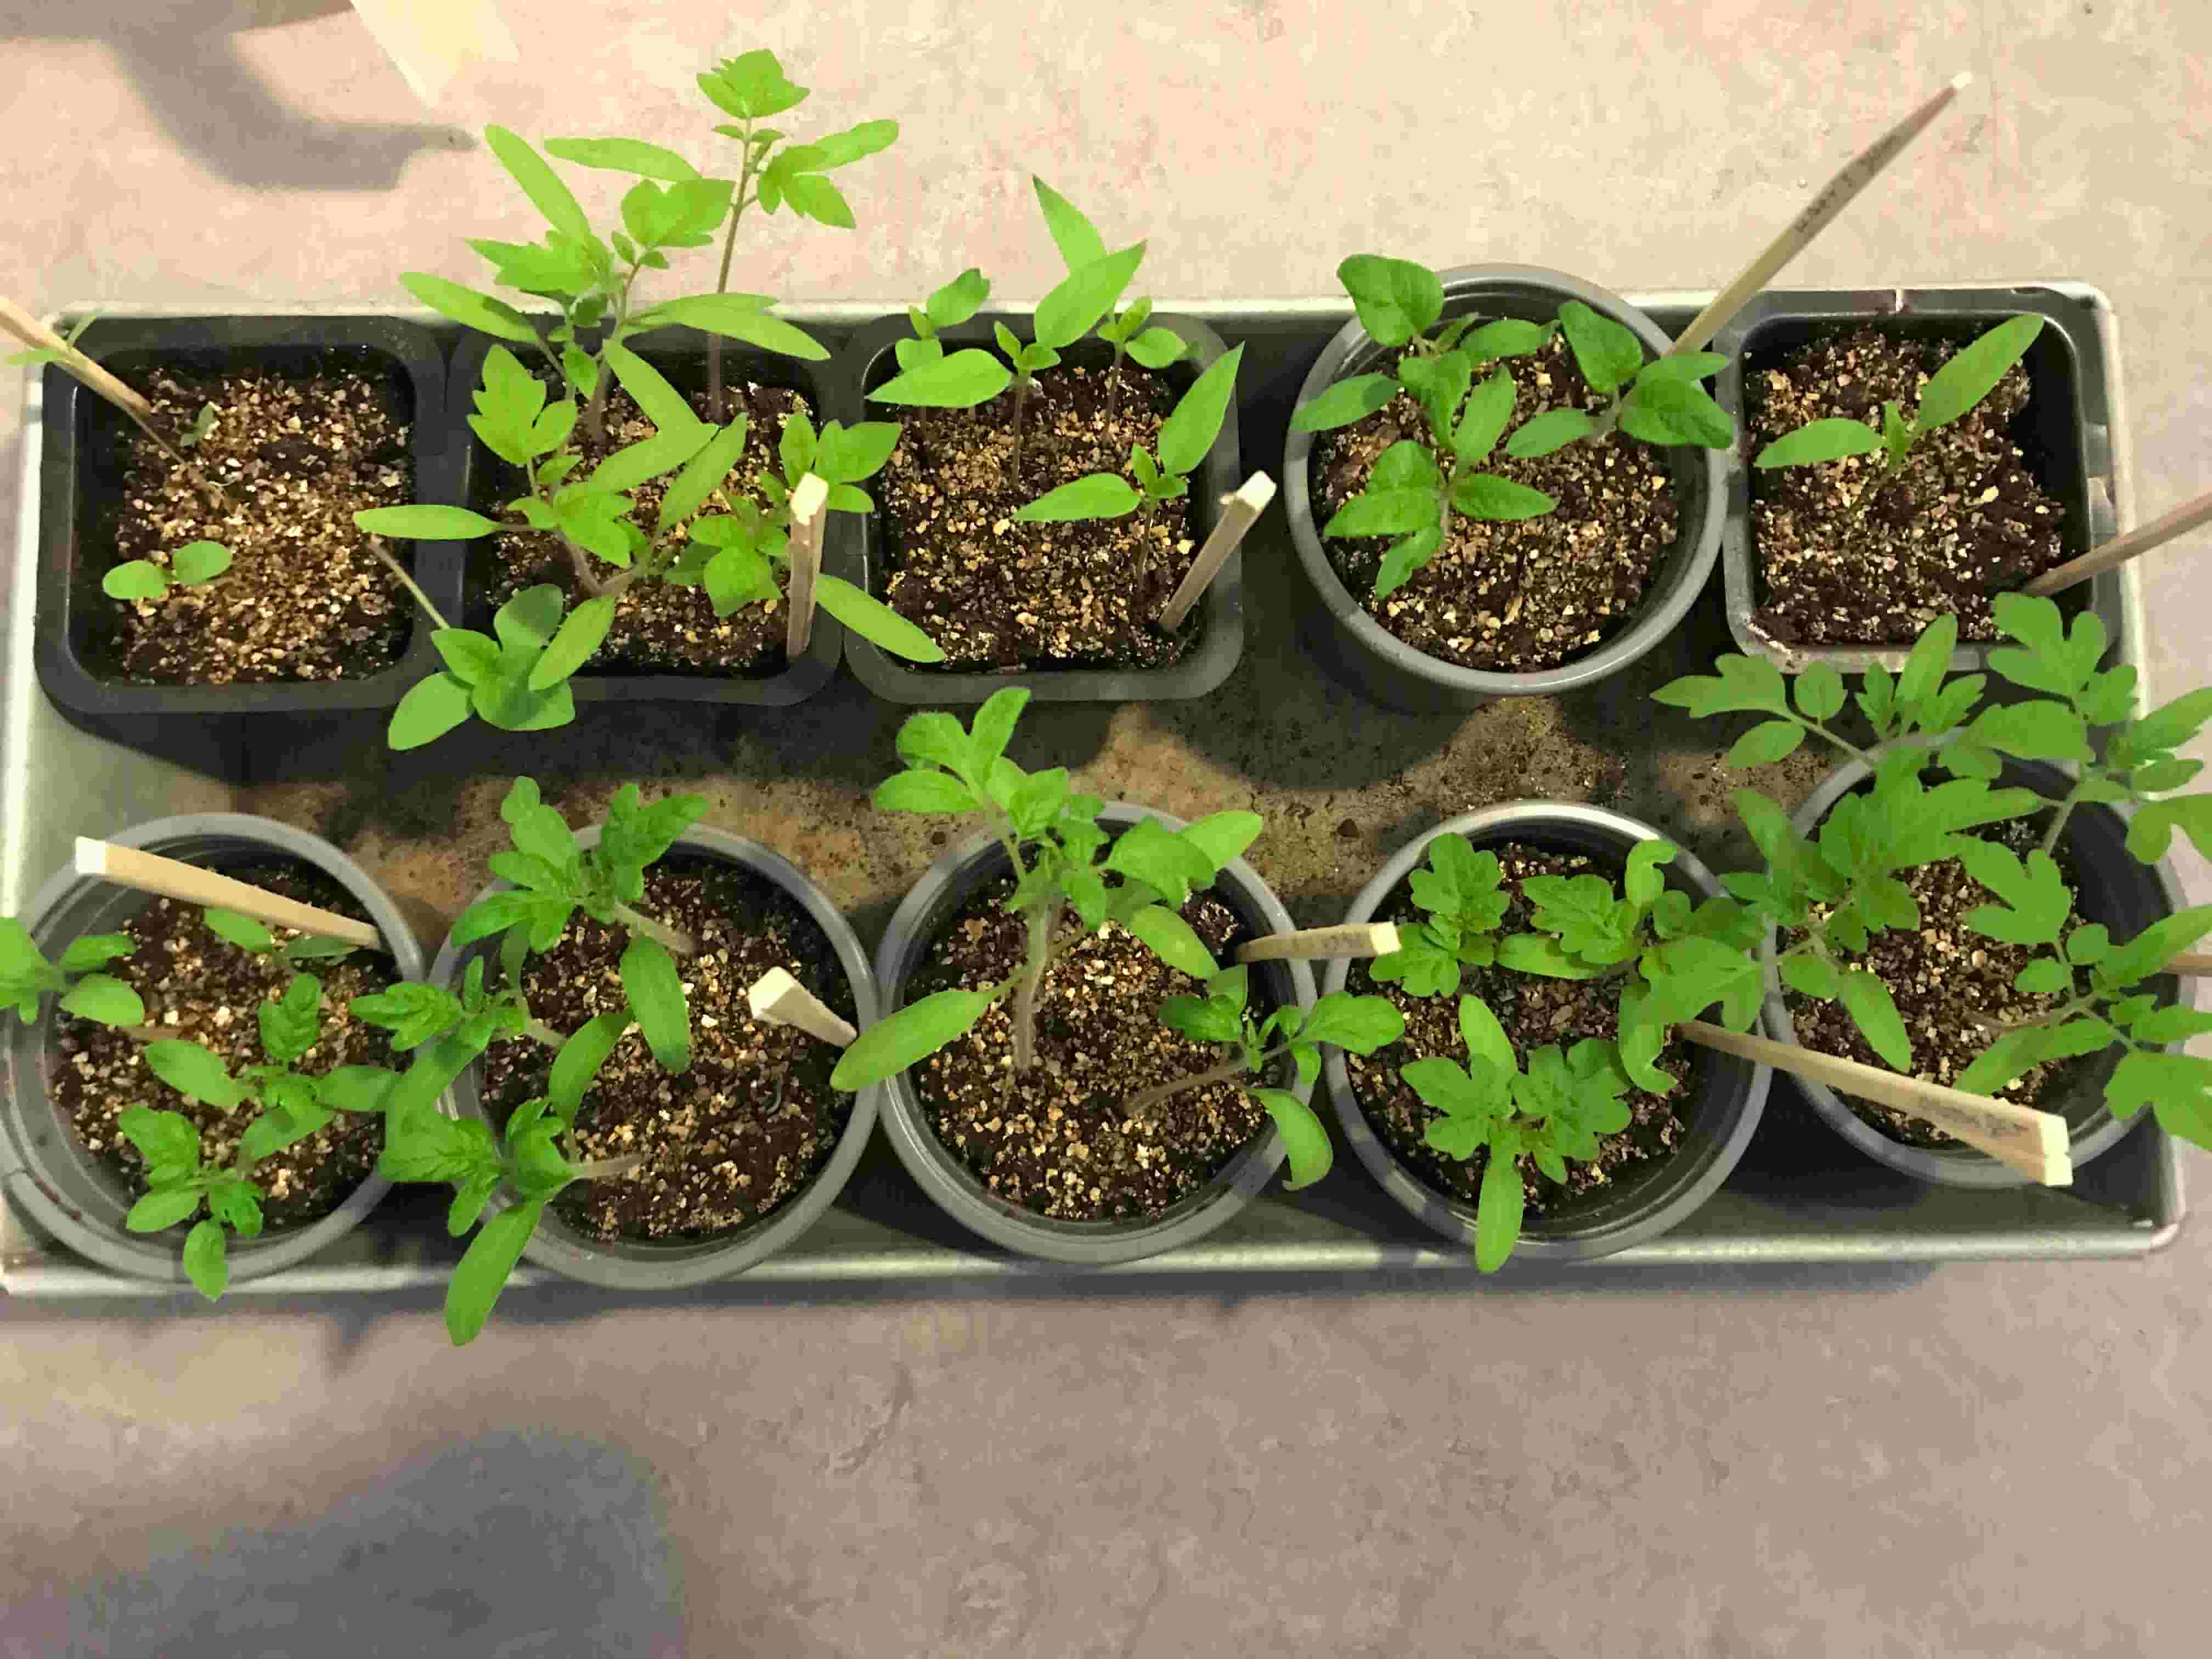
So your seeds have sprouted in their tiny pots, looking all cute and flimsy, and you think “oh great! now what?“. Well, here’s your guide!
After my last week’s post, I’m happy to announce that my pepper seeds have sprouted! For some reason, only one of each variety popped up yet, so I have taken precautions and planted a couple more seeds into the same pot, as the seeds were over a year old, and so some might not be as good. Sometimes, however, they just need a bit longer, and it’s perfectly natural that not all of them sprout at the same time. So be patient!
Step 4: Let there be sun! or maybe get a grow light…
Once your seedlings sprout, you want to immediately transfer them to a sunny spot. Those tiny leaves are going to need all the energy they can get to continue growing and develop new, stronger leaves and a healthy root systems.
For years I had to use my windowsill for this, and simply put the trays with the pots close to the sunniest window in the apartment. Of course in the north, a sunny window in march or april is still not much, so the poor sprouts would stretch their stems too much in an attempt to get more light, before committing to growing new leaves. This results in weaker plants that will not withstands a lot of wind.
And so I got grow lights.
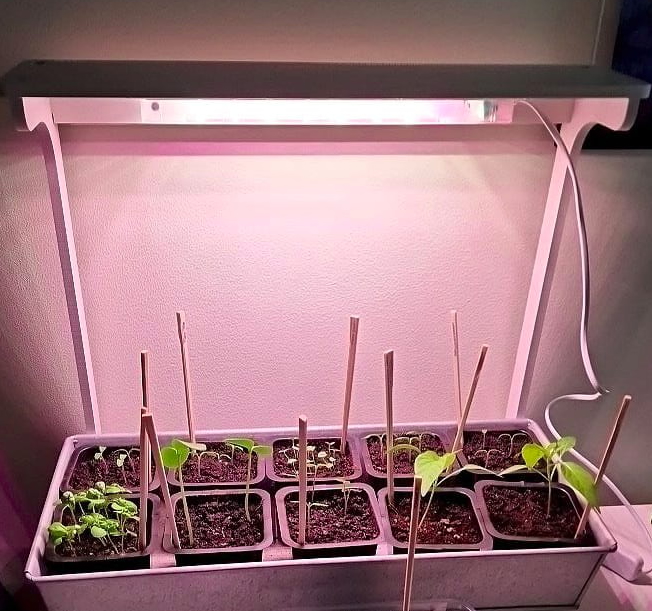
Nowadays, once I see some green above the soil, I plop the pots under the grow light with a 14h timer, as close as I can under the light.
Step 5: Keep them happy
As your seedlings grow, start adding some hyper diluted fertilizer to your waterings. Start with only a couple of drops in a liter of water, and increase the amount the bigger the plants get.
I strongly encourage you to do bottom watering for your seedlings. For this, pour the water into your trays and let the soil in the pots absorb the moisture they need. This will encourage the root systems of the plants to grow nice and deep into the pot, and also reduce the number of nasty flying gnats from reproducing in the freshly watered soil. If you do end up having gnats, have no fears, as they do no harm to your actual plants.
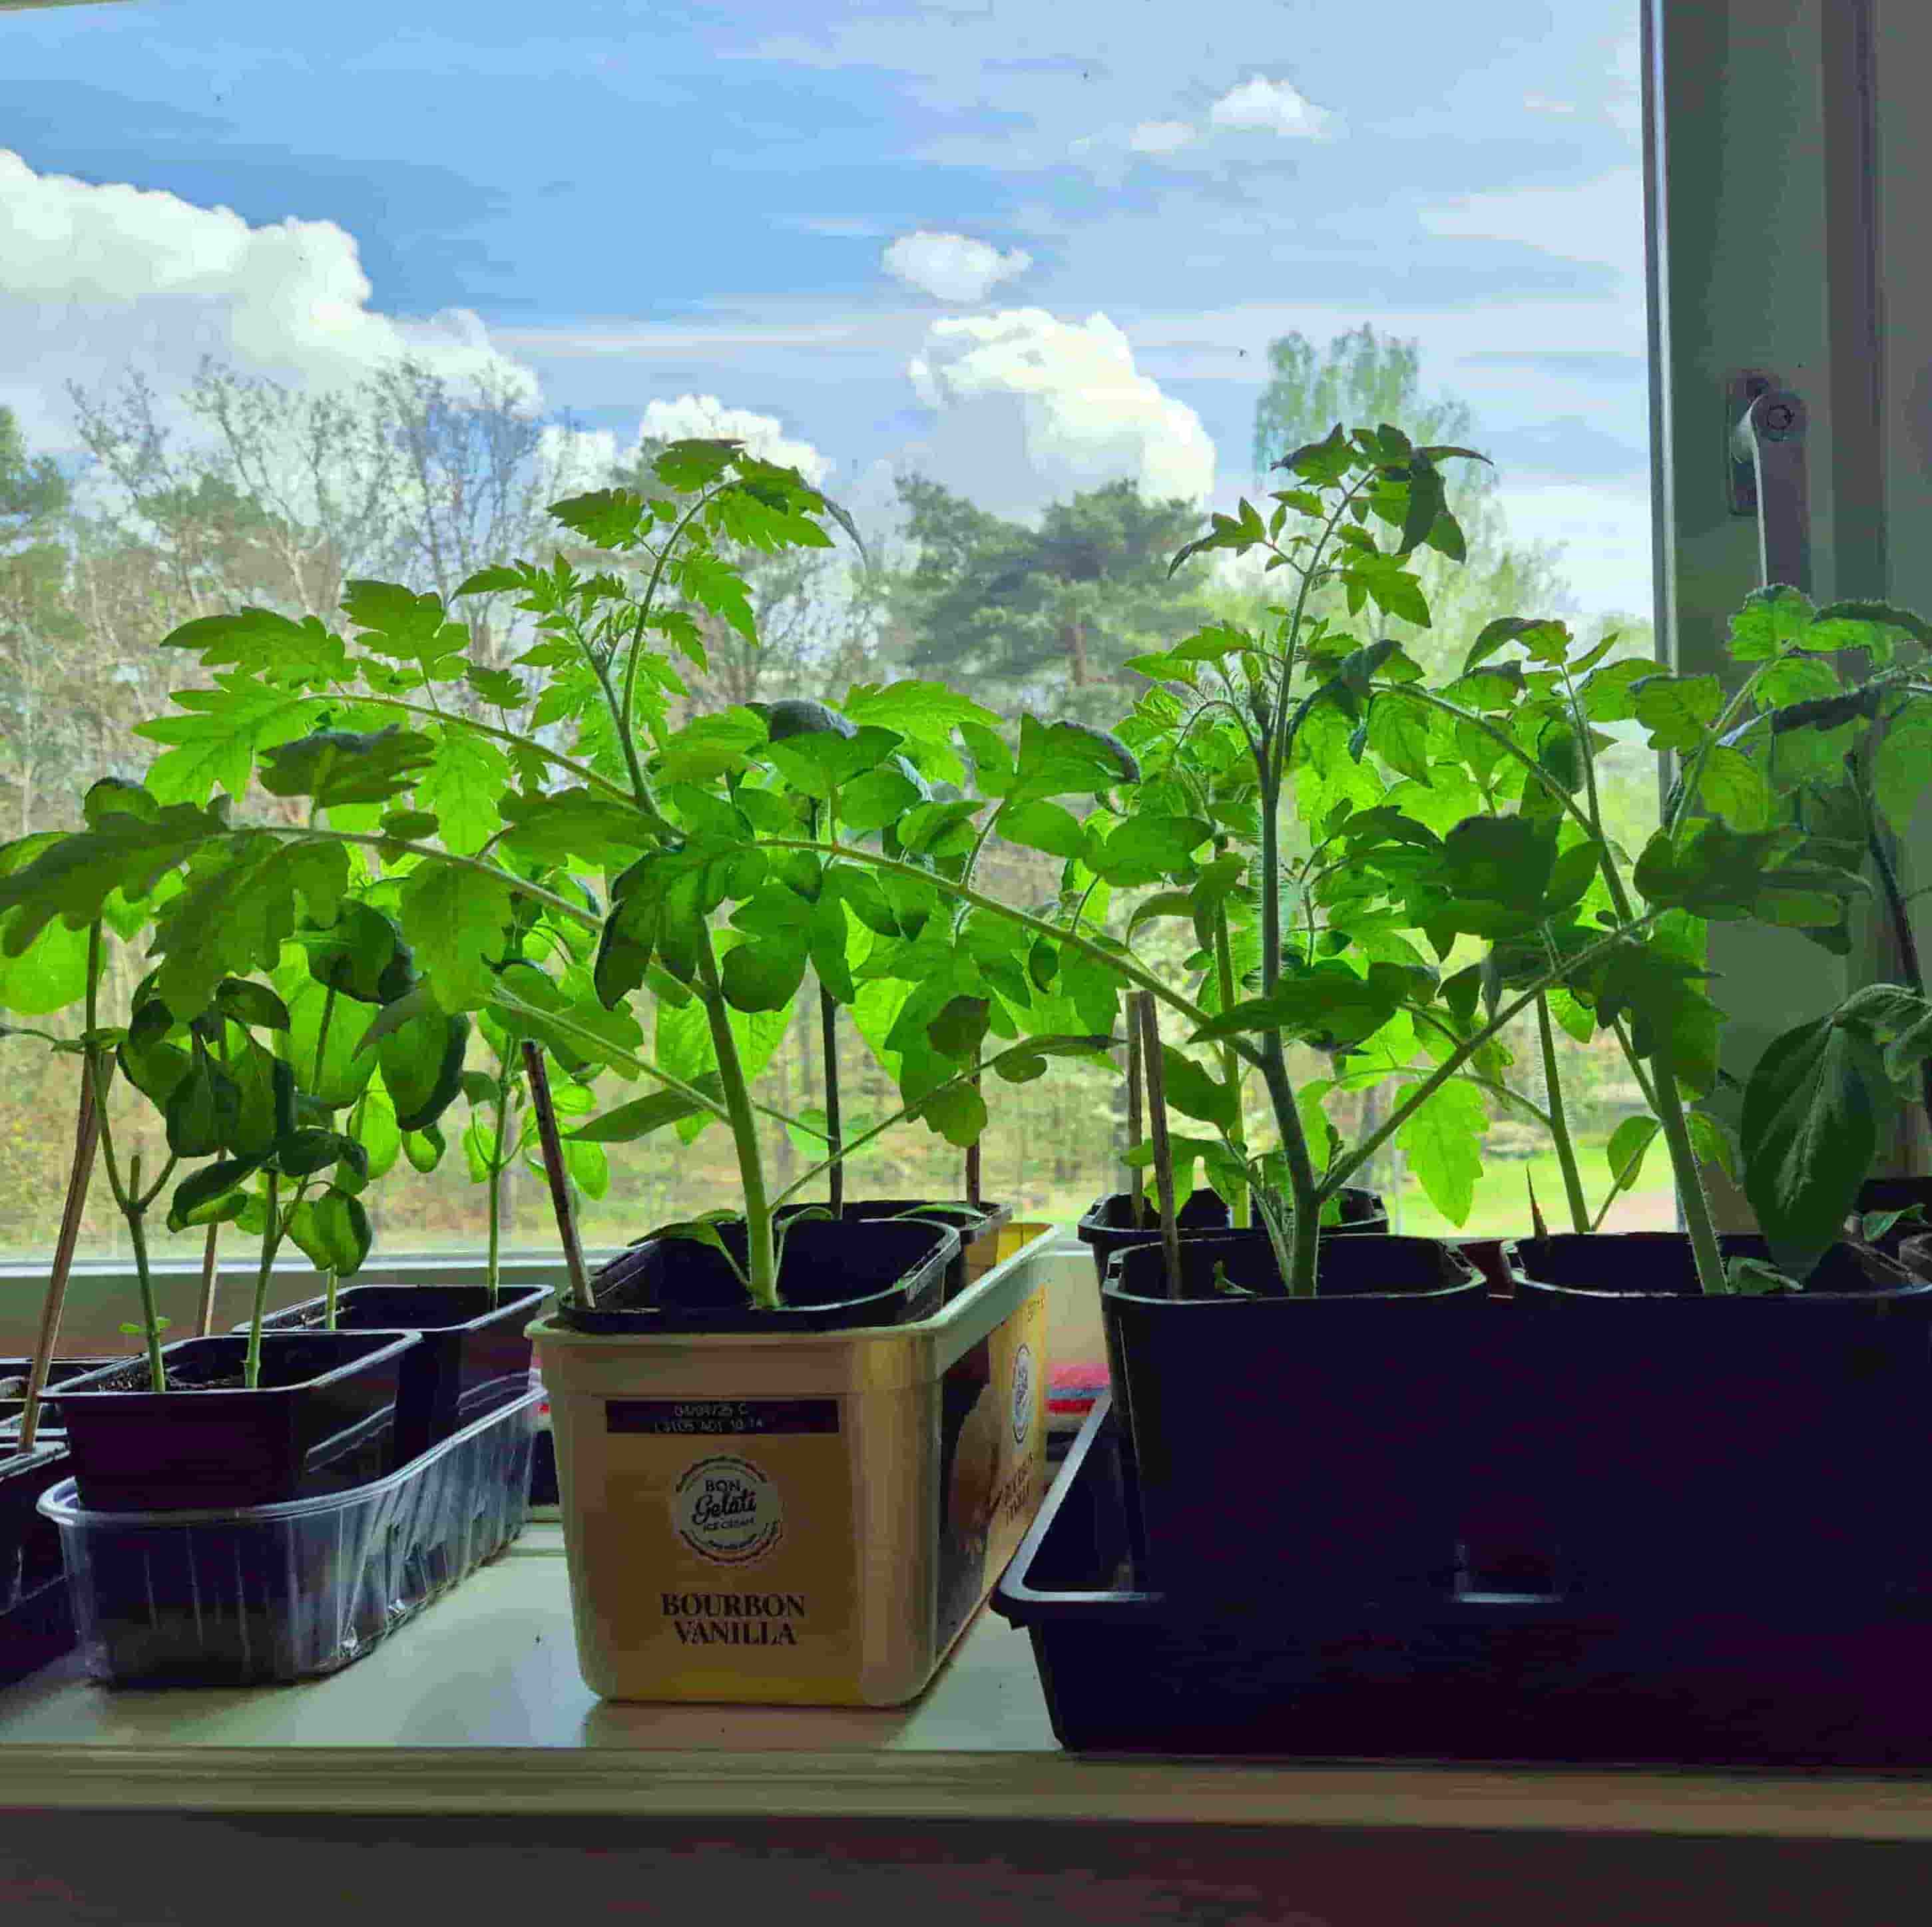
This is a period of optimal gnat propagation conditions in your house, since there will be a lot of pots and you will need to keep the soil wet for your seedlings. So if it does get annoying, a tip of mine is to look into beneficial nematodes and sticky traps. The nematodes are resuspended in the water used to water the seedlings and eat the gnat eggs in the soil. And the sticky traps are placed into the pots to catch the adult, flying gnats and stop them from reproducing. Et voilà, problem solved!
Step 6: Transplant crowded seedlings
Plants need their space, ok? As they approach teenage planthood, aka, when seedlings get at least 2 sets of new leaves (like on the picture at the very top of this post), they no longer want to share their pot space with others. This is crucial for developing a strong and sturdy individual root system, so I’m afraid it’s an unskippable step.
When the time comes, prepare new pots and label them accordingly. At this point you can just use a regular soil mix for vegetables. Then transfer each seedling into their own pot. Most seedling types should be quite sturdy at this point, so don’t be too afraid of moving them around, they will quickly adapt and settle into their new home and all that fresh soil to root into.
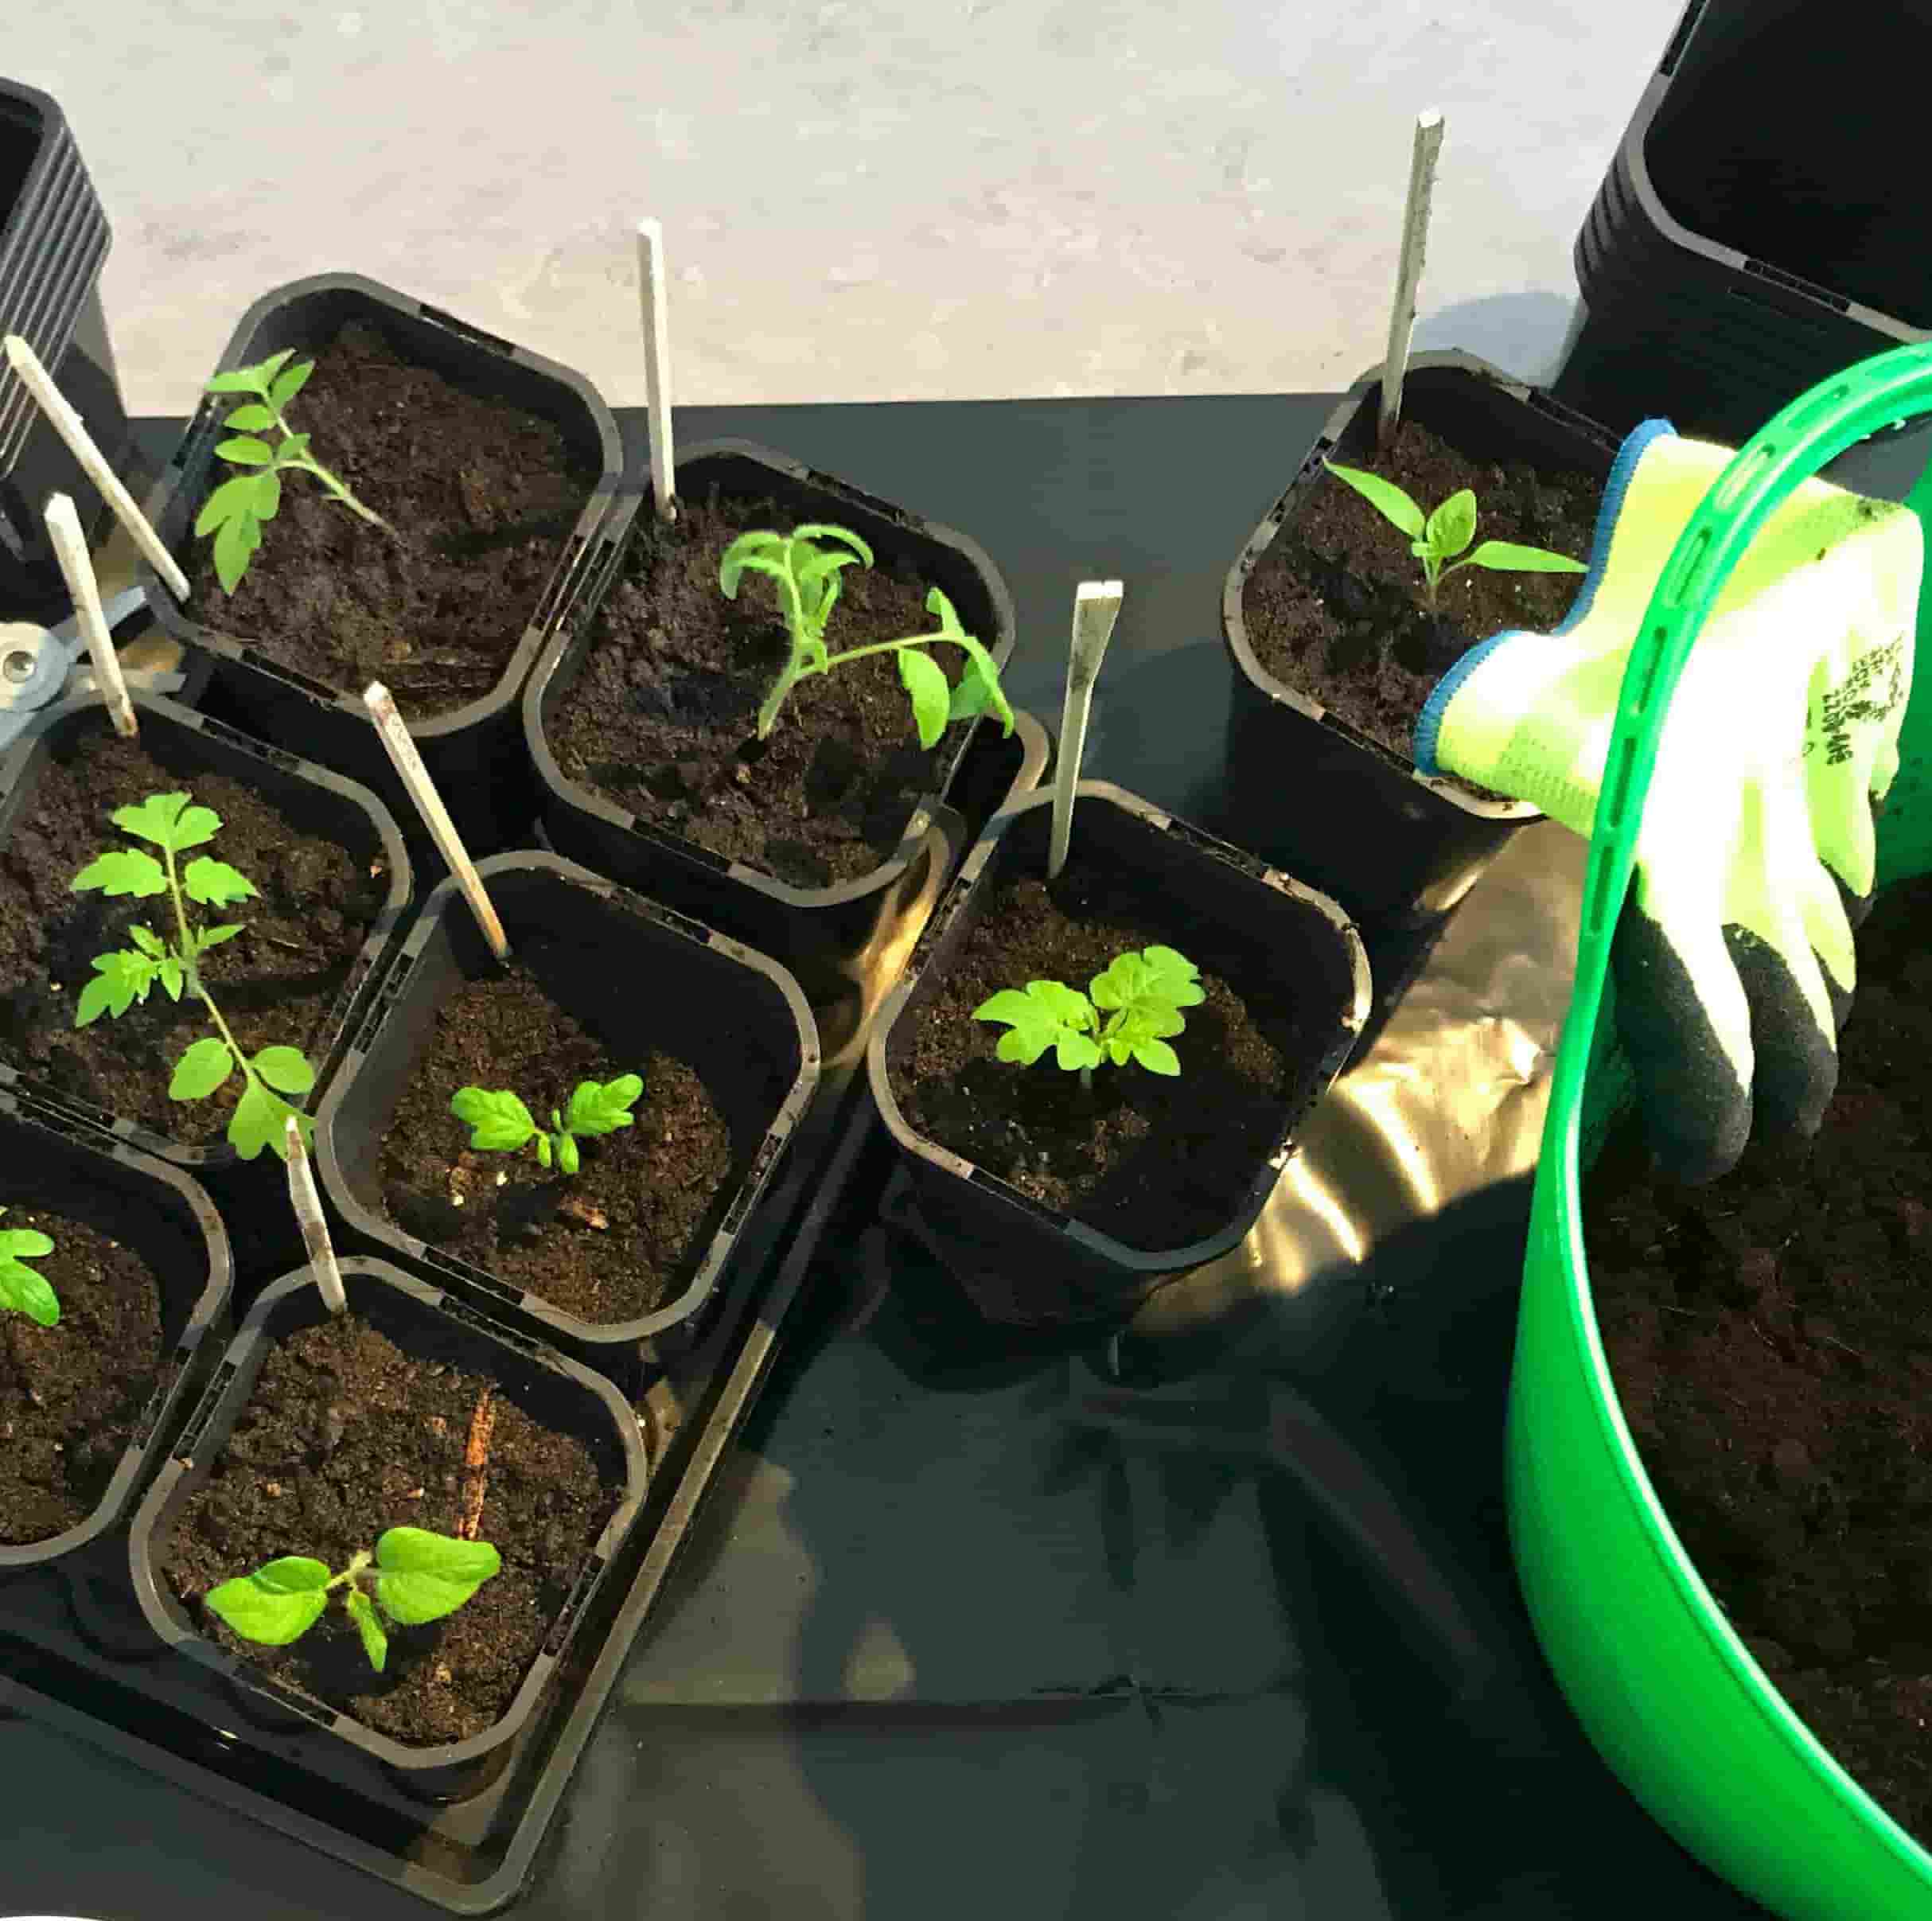
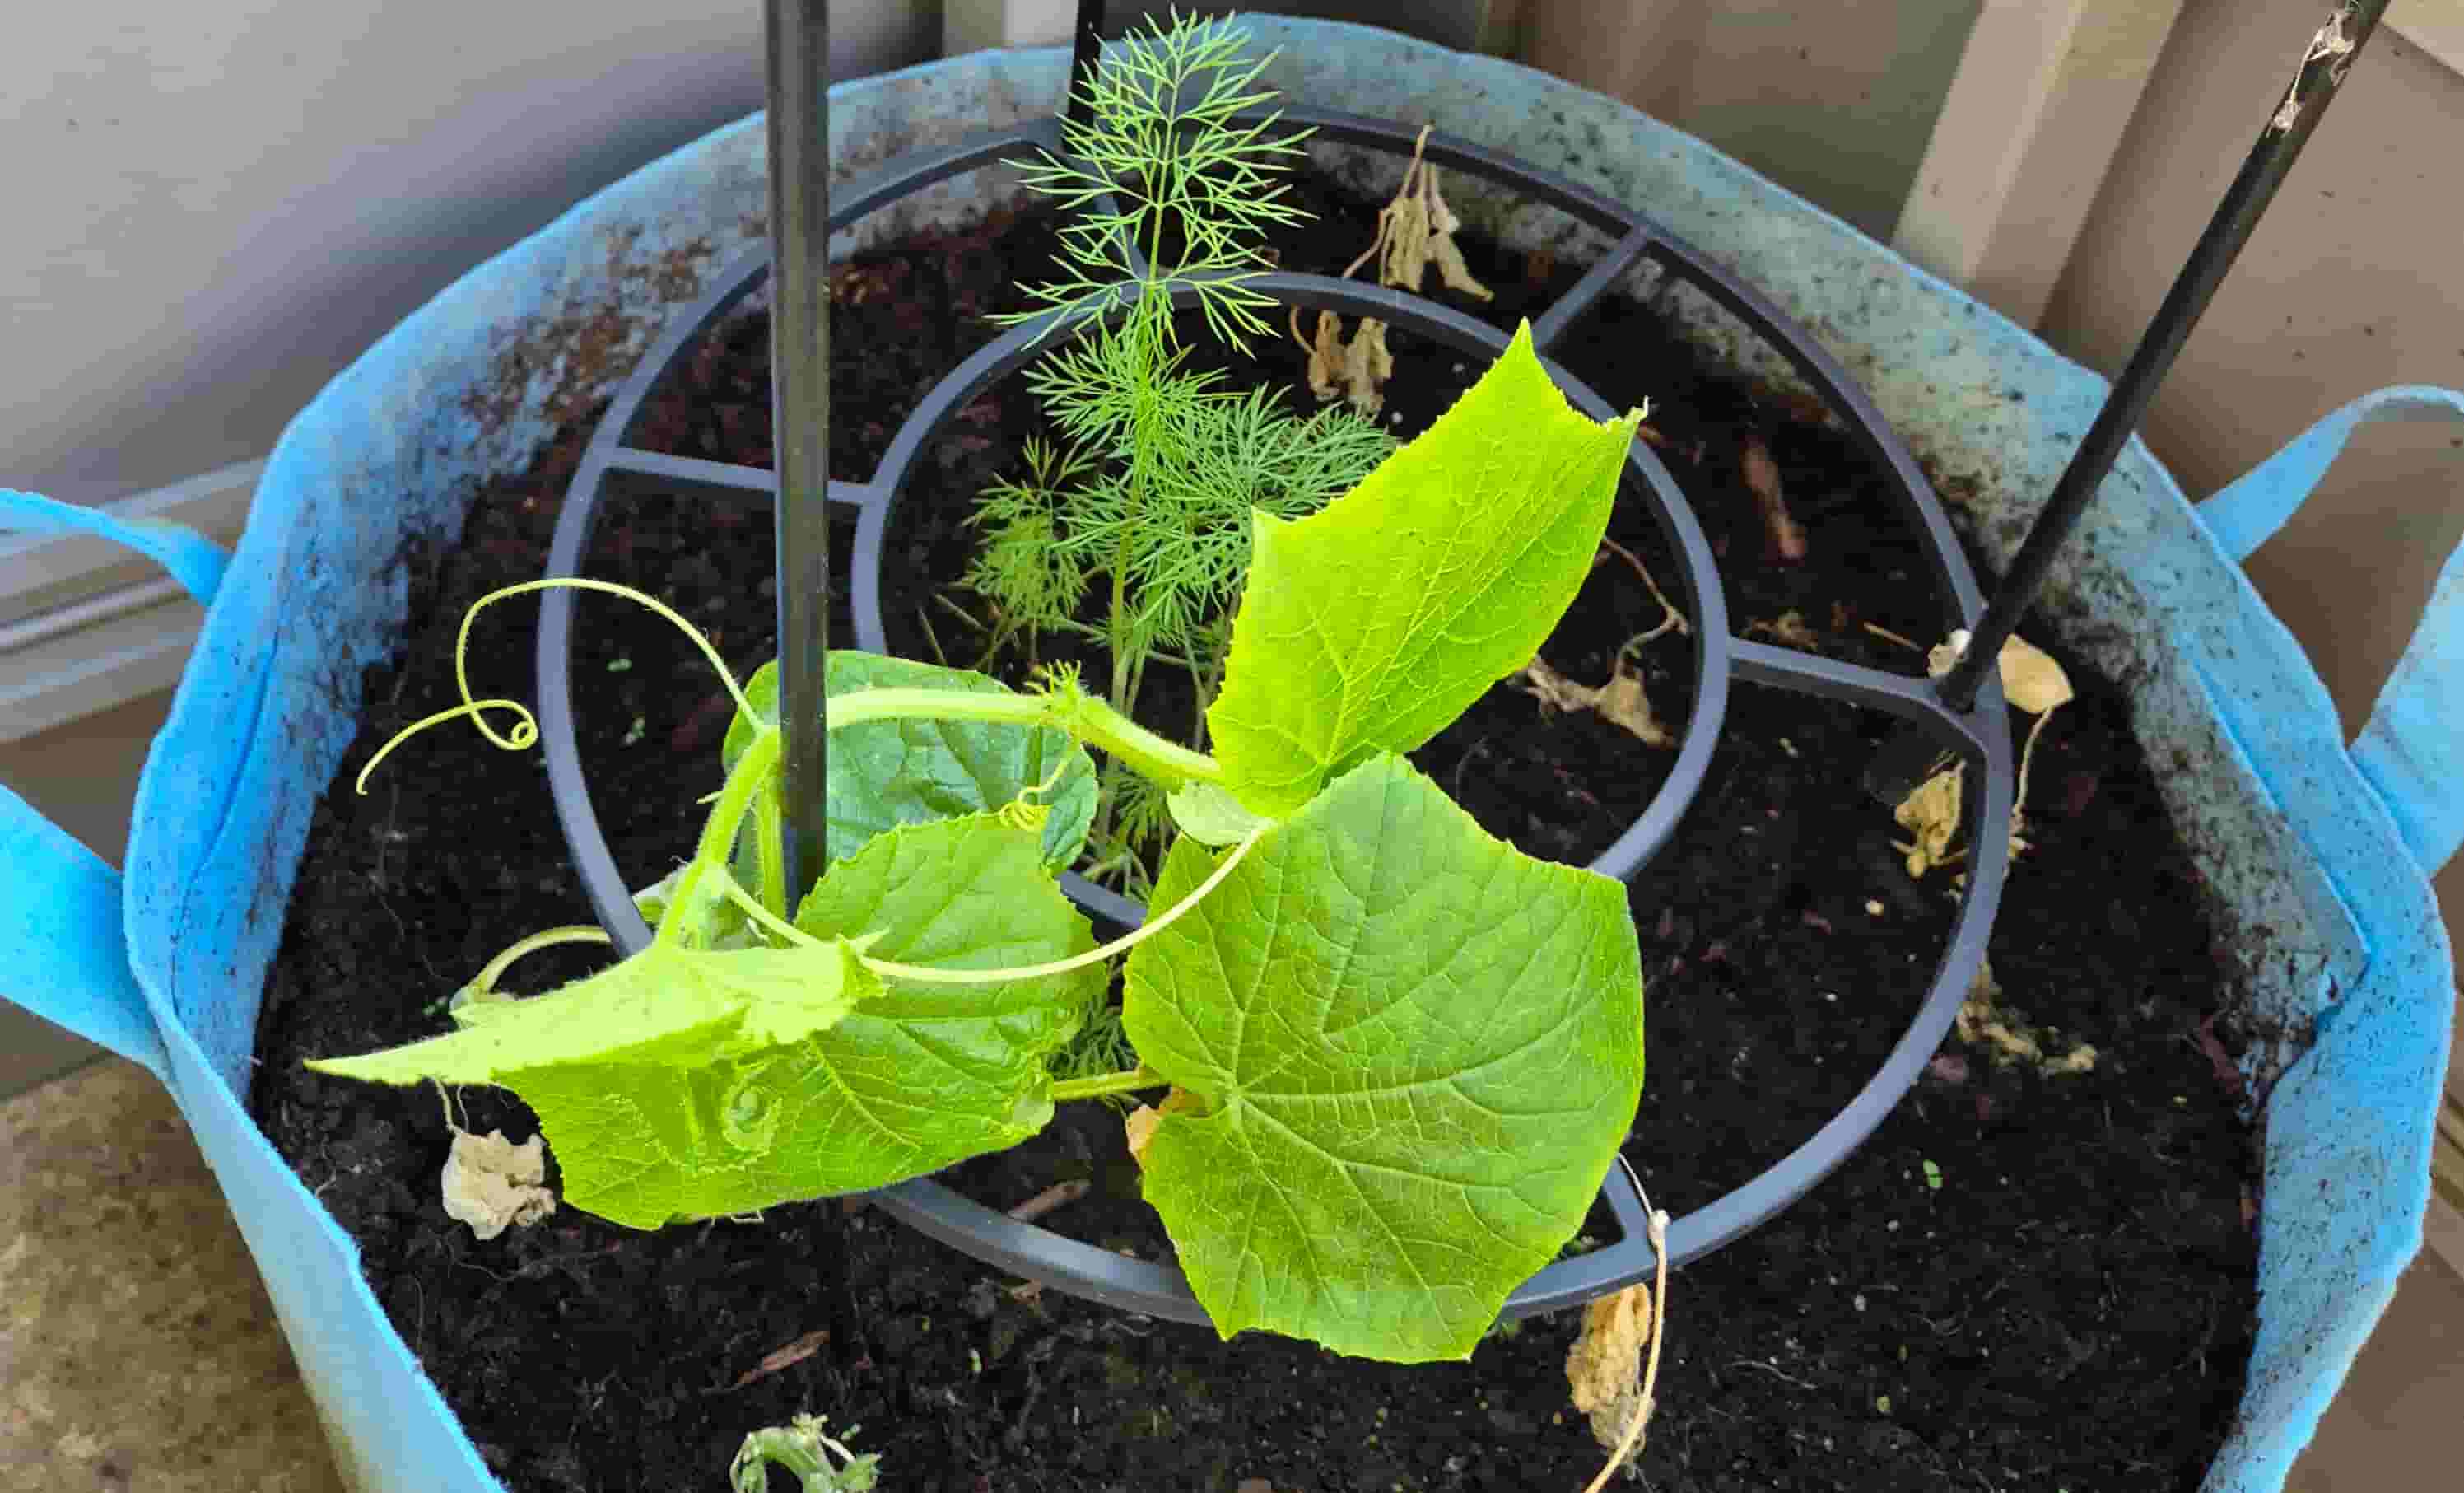
This being said, there are plants that don’t enjoy having their roots messed with too much. Cucumbers are the main ones I have encountered in my gardening journey. For these, I plant only 2 seeds per pot, and make sure not to let them grow too big before transplanting them directly outside into their permanent homes for the summer. This means that I also start them much later than everything else, as it only takes them maybe 4 weeks from planting to transplanting outside.
Step 7: Ah, it burns!
Once the date for transplanting outside gets closer, say 2 weeks before or so, you want to slowly get your teen plants used to some sunlight. They have been living a sheltered and spoiled life indoors until this point, which means they have no calluses against real sun light or wind. To get them accustomed to real life, you want to take them out in their trays, with some water at the bottom, for a coupe of hours at the time during the day, and slowly increase the amount of hours.
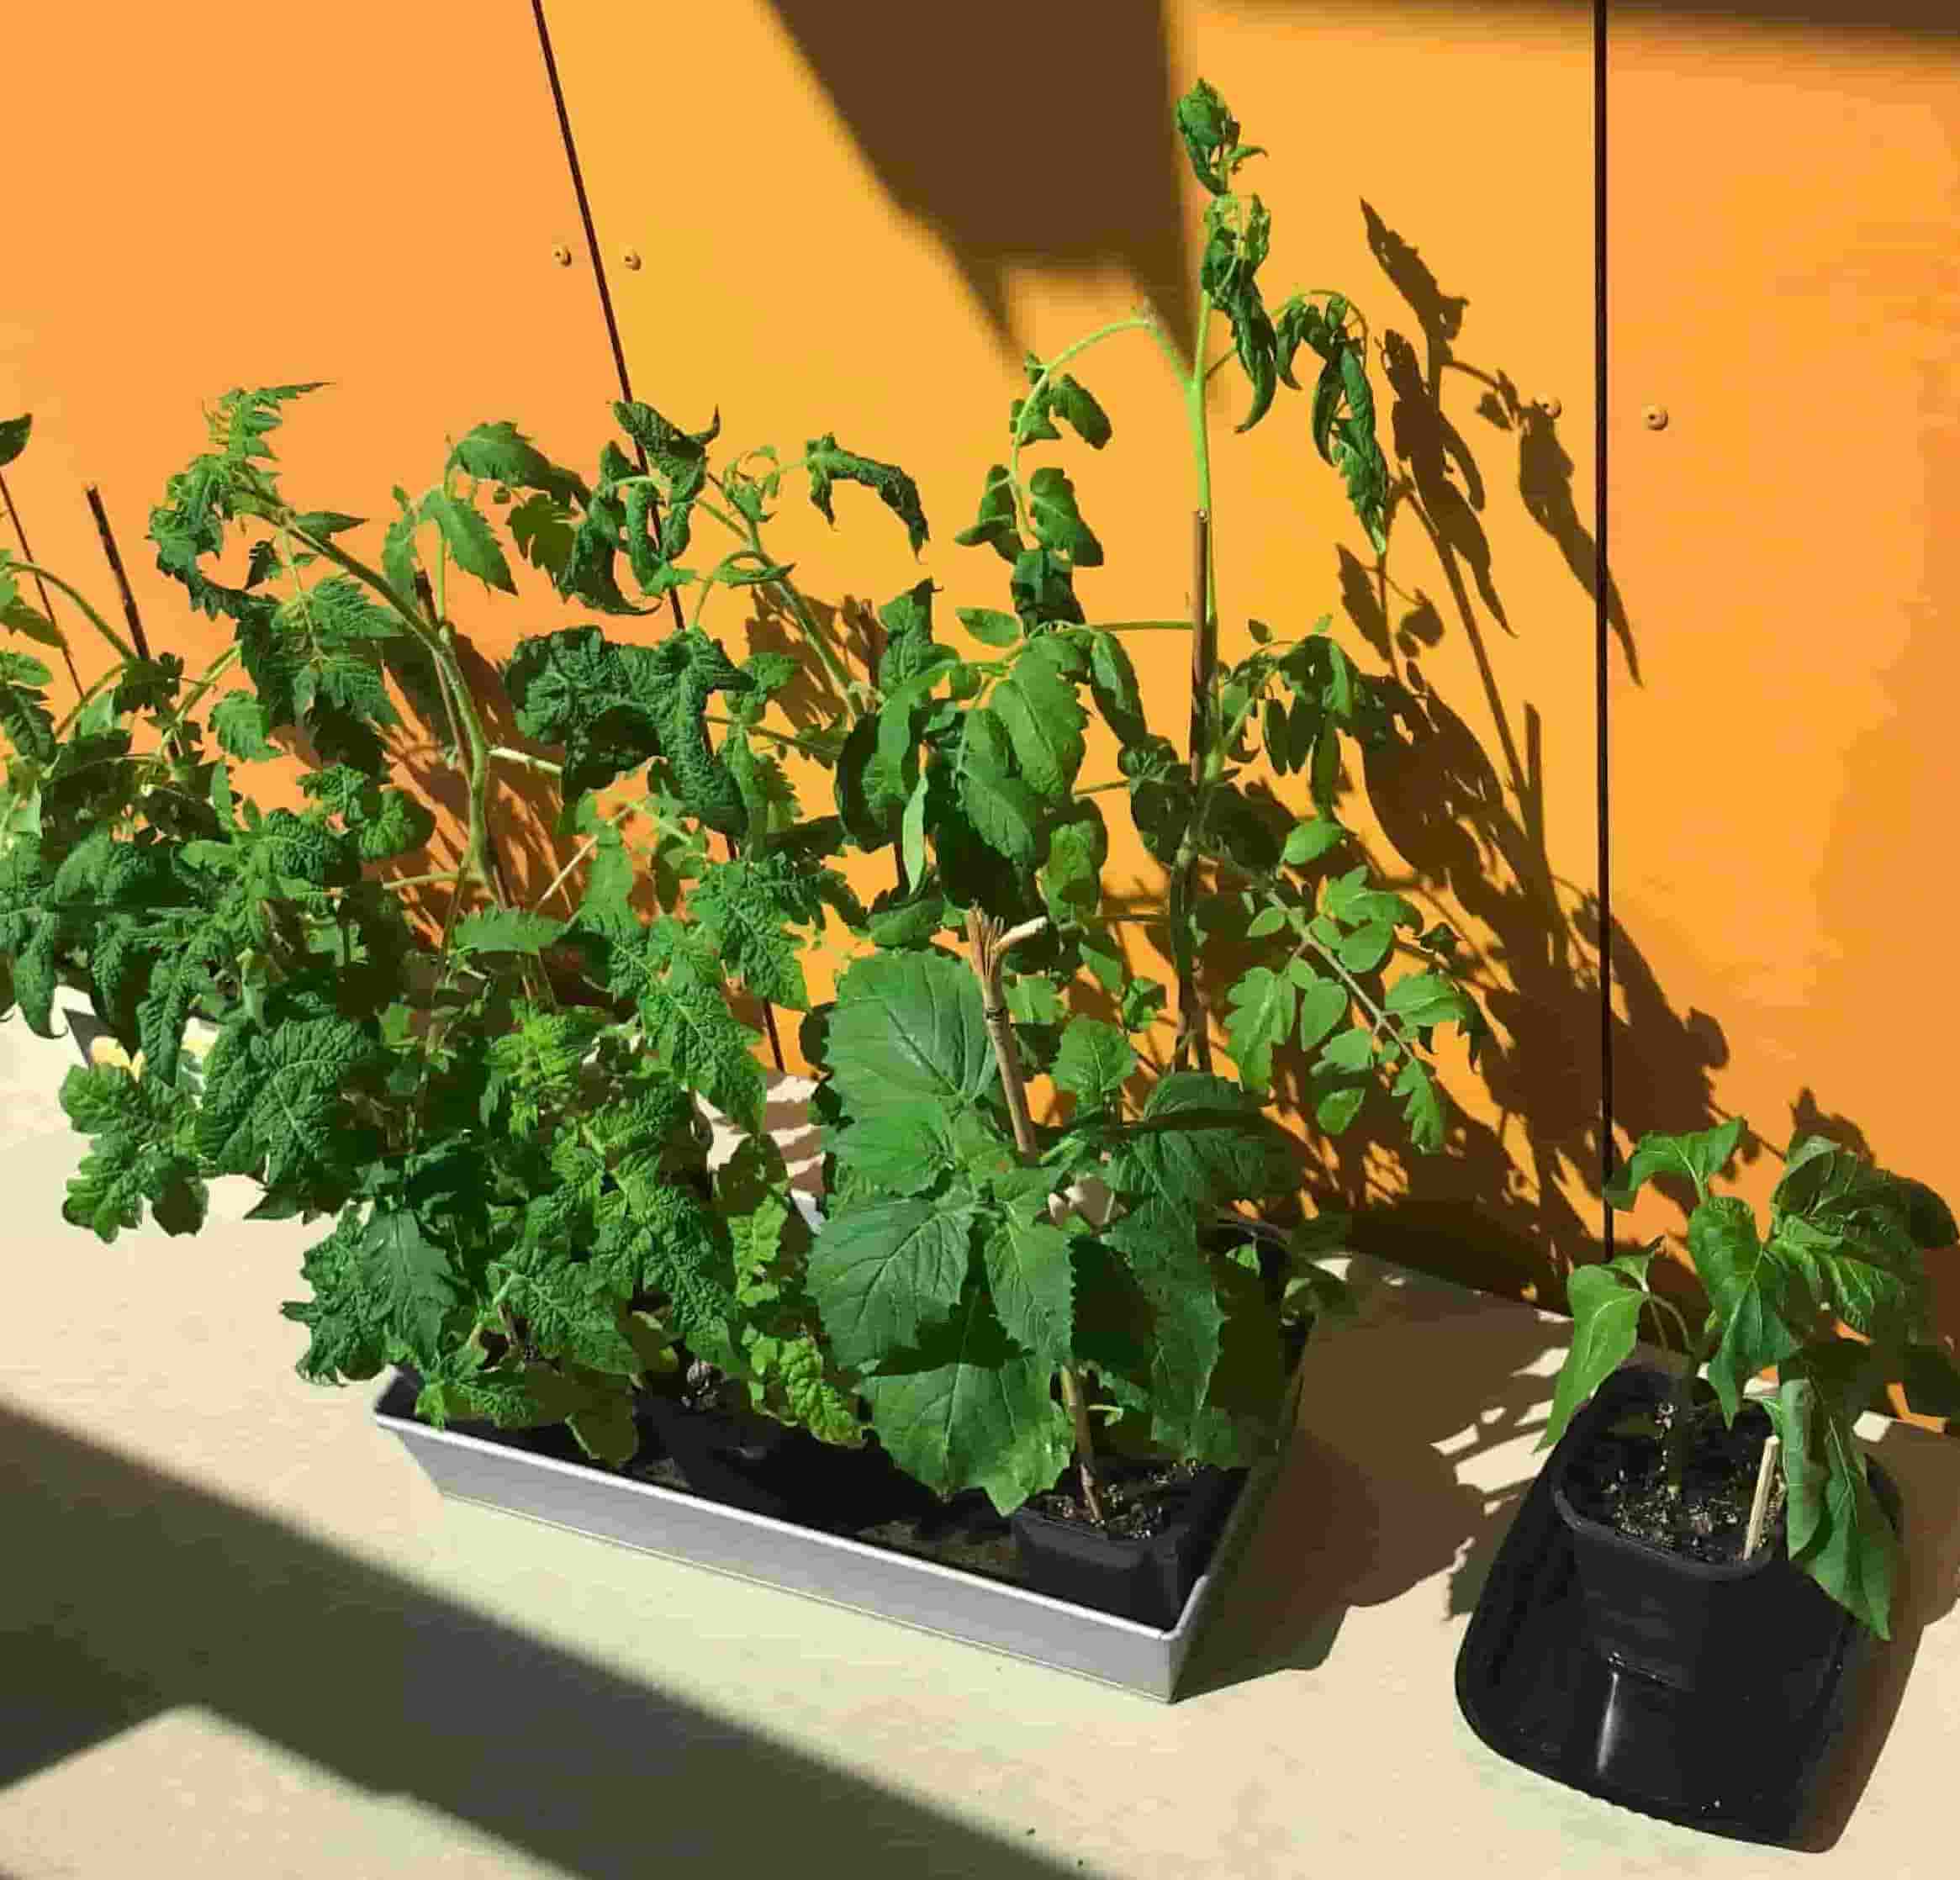
In this process you might see them struggle a bit. You might spot some slightly burned leaves, or completely wilted plants. That is all normal and necessary for the toughening up process, and will make sure you get strong, survivors for your summer garden.
Step 8: Transplant outside and enjoy
Before this step I’m afraid there is some math involved, as you’ll need to calculate how much soil and compost you’ll need. Since I’m reusing my pots for the 3rd year now, I will reuse the soil in them as well, and nourish it a bit with some fresh compost. But if this is your first year, you’ll need to figure out a ratio of potting soil to compost that works for you and your wallet.
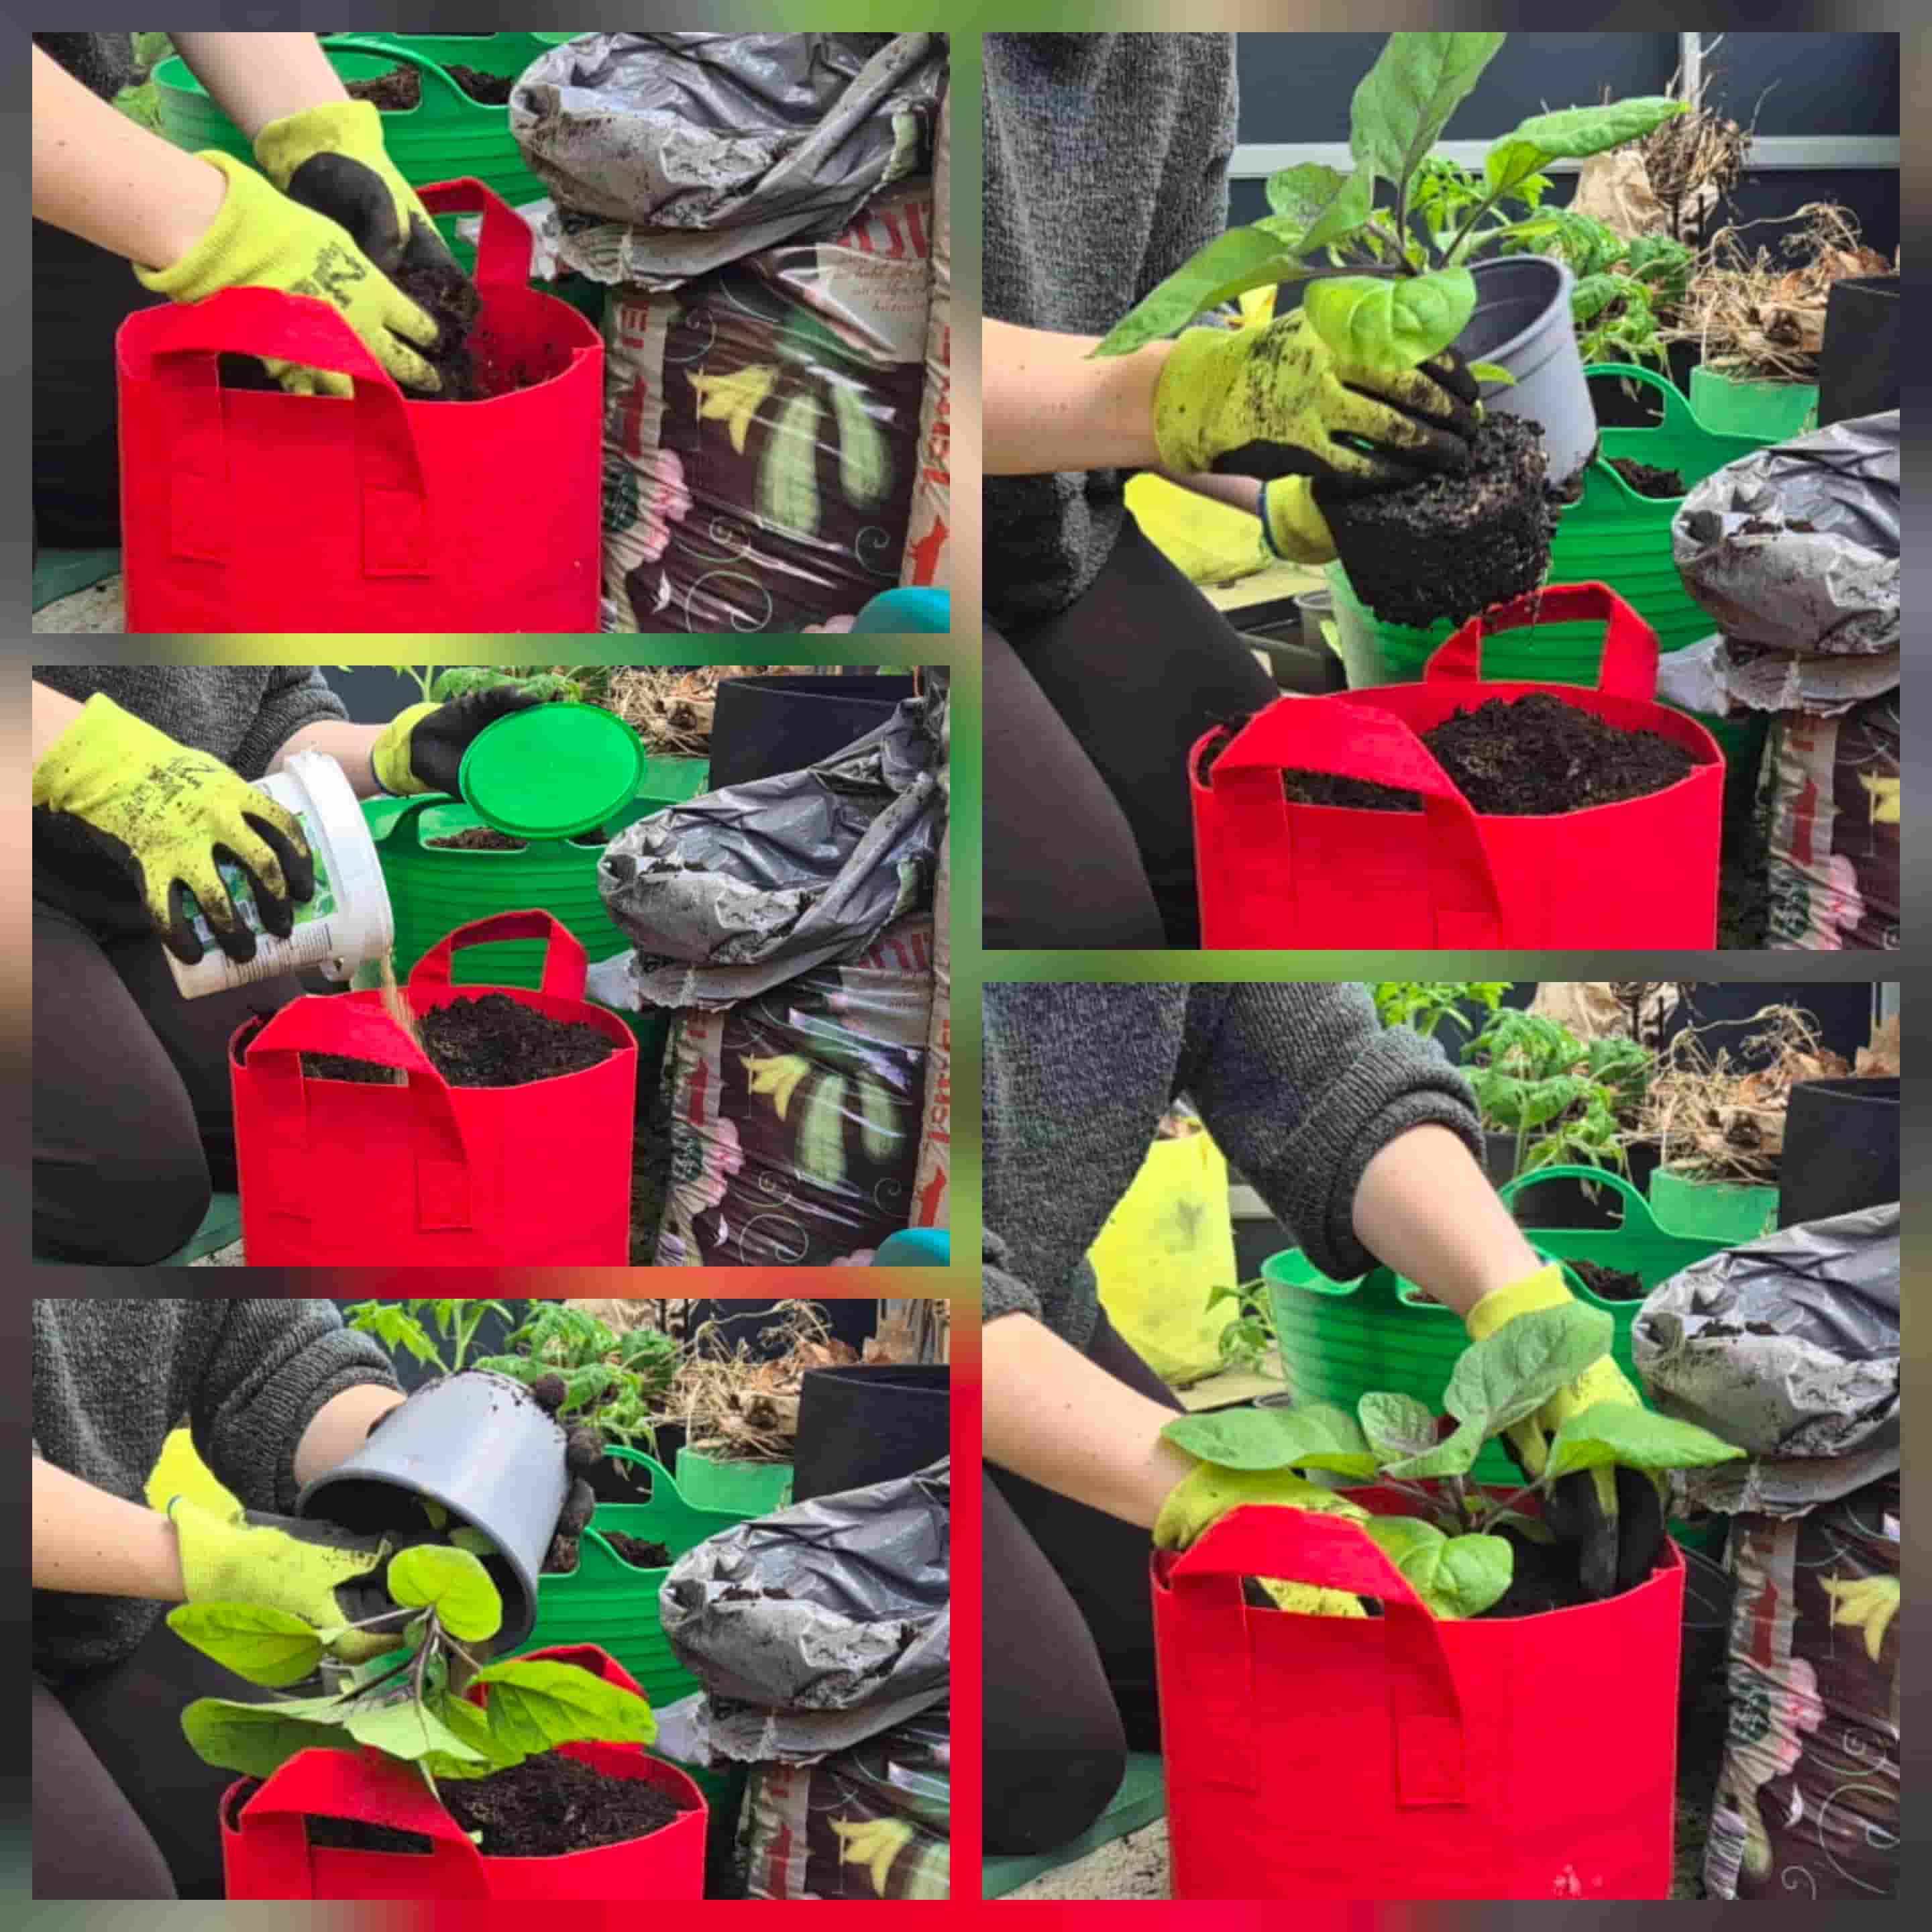
Once this is done, you simply want to take your grown seedlings from their nursery pots, and replant them into their forever homes on your balcony. Give them a good watering so the roots can easily spread, and some support if needed with some string or sticks for the stems, and enjoy your garden coming to life!
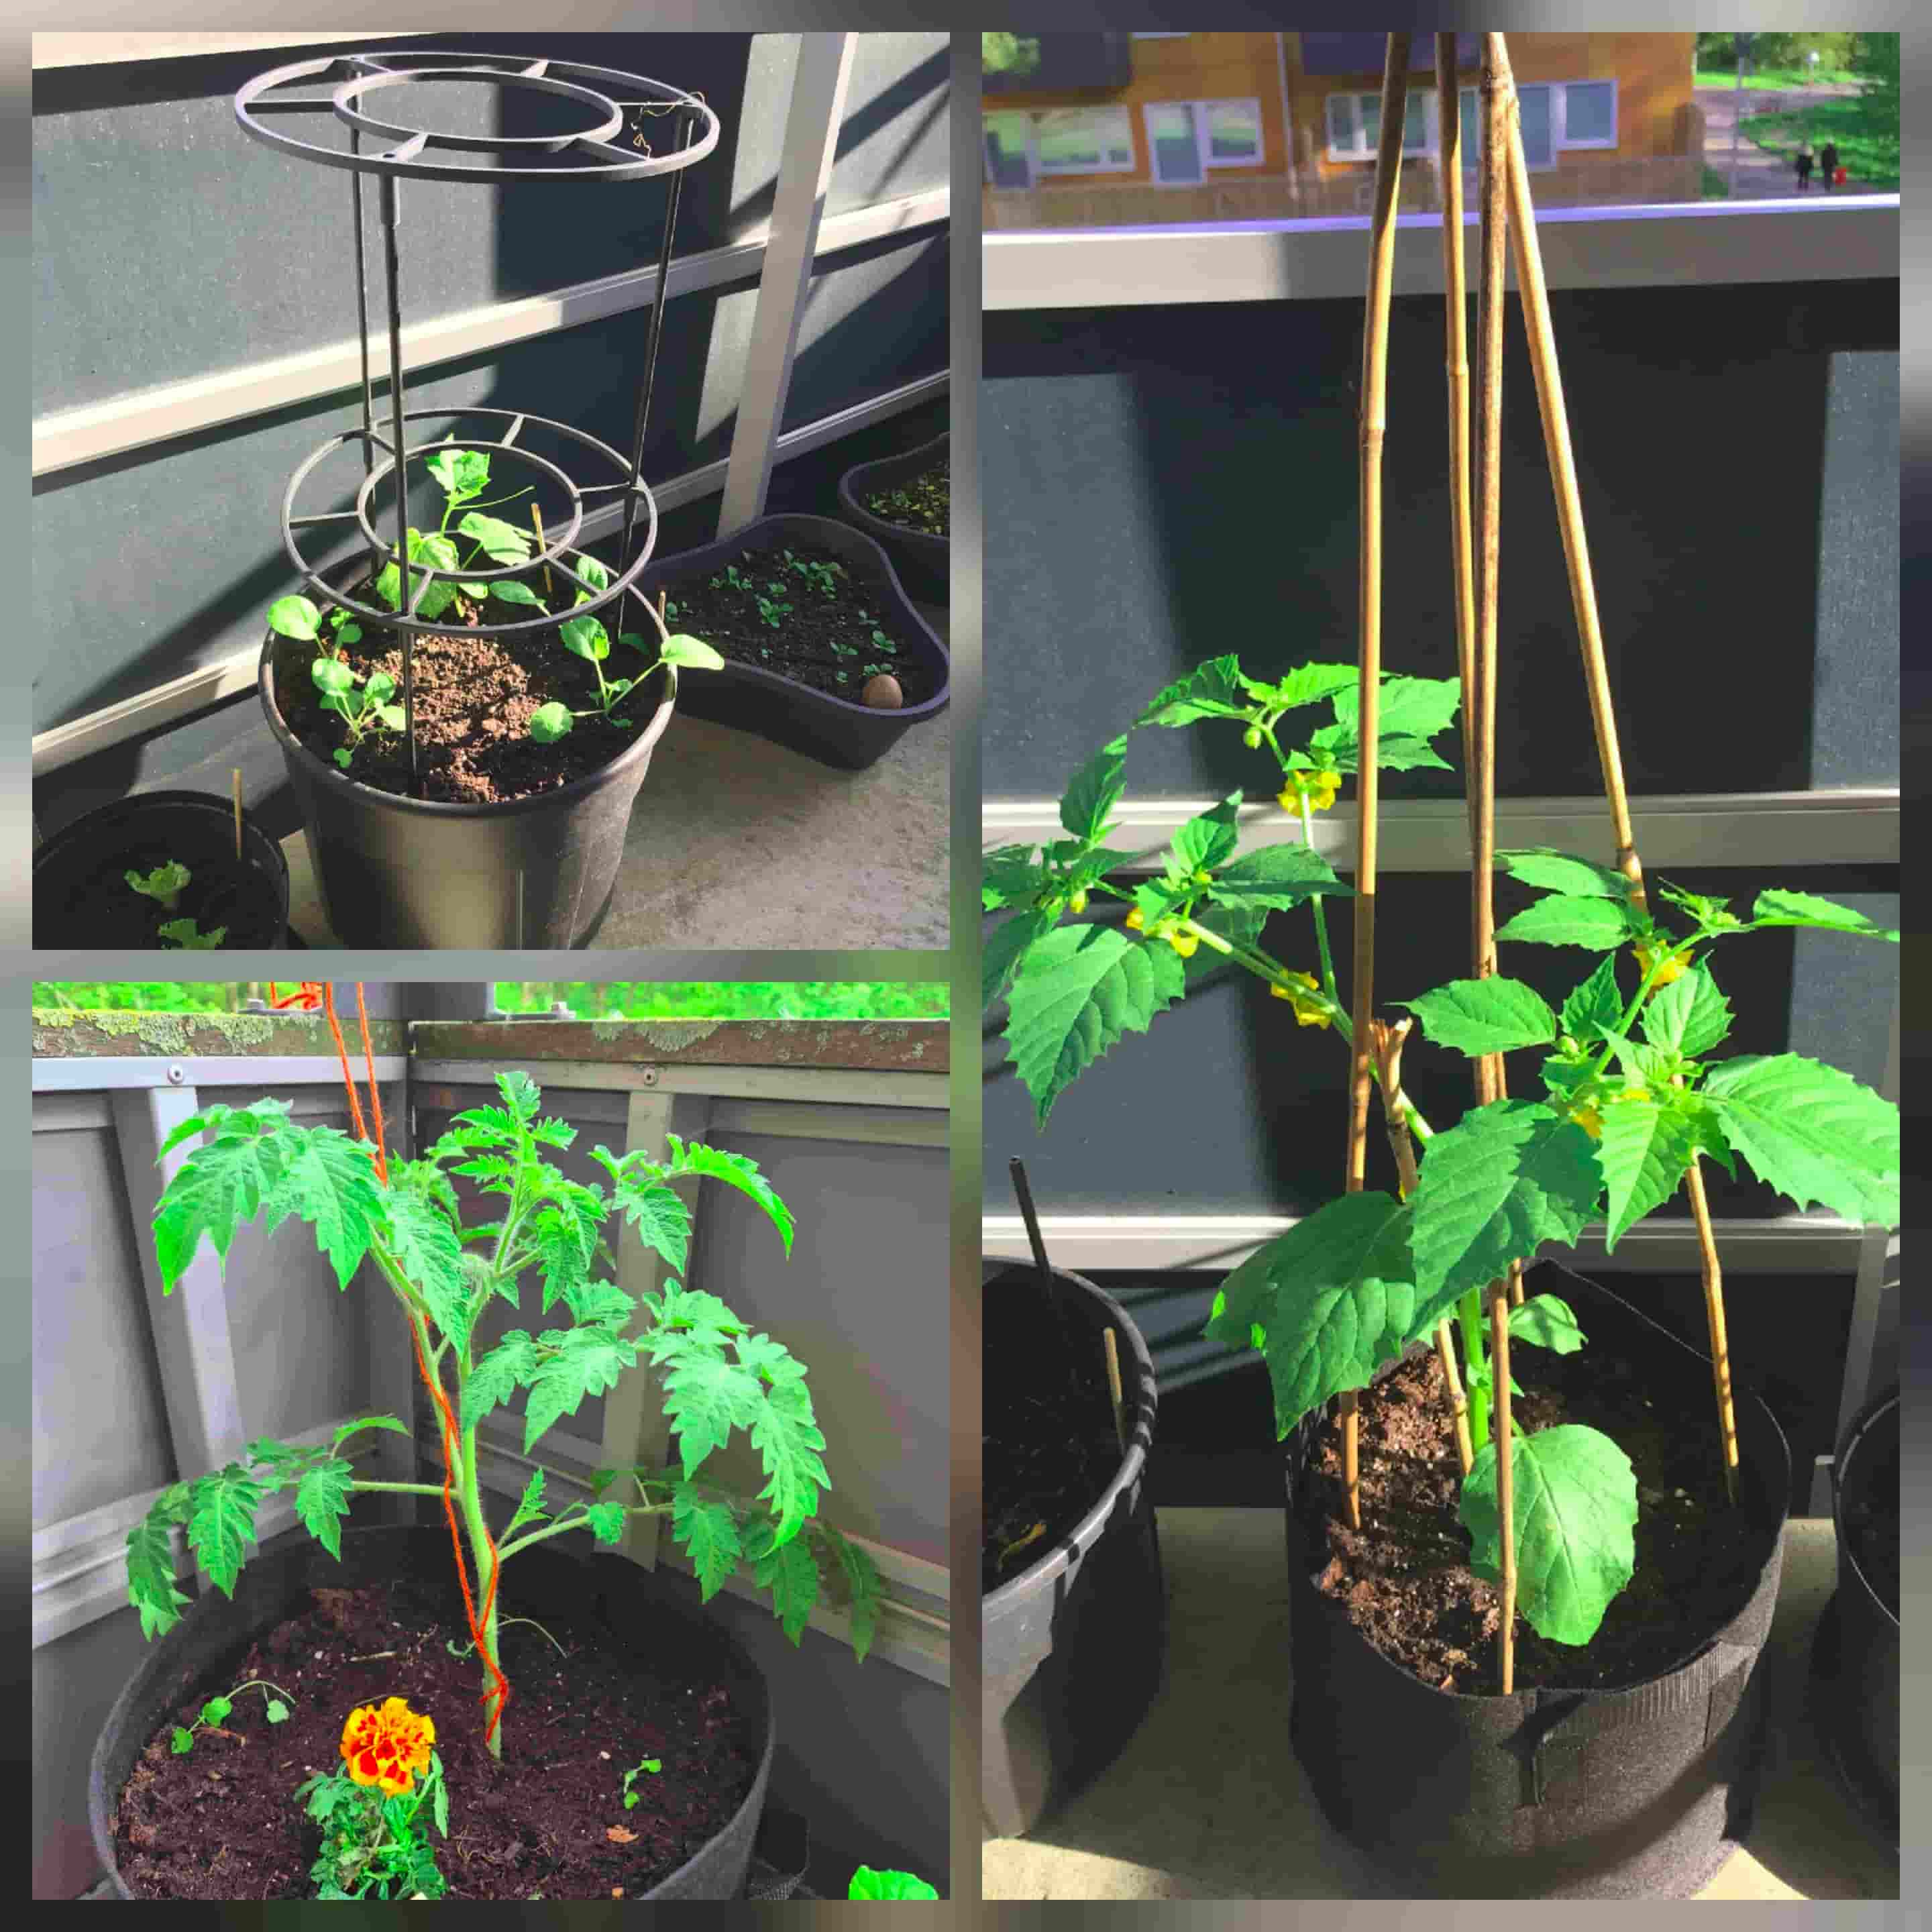
There is a lot that can go wrong from this point onward, and we will tackle some of those in the next blog posts. But most times, nature just seems to always find a way to surprise us with both beauty and hope. So trust the process and immerse yourself in it. Only then you can learn and grow yourself.
 Subscribe to my RSS Feed!